
Are you bending over backwards trying to figure out why your Apple TV has not got any sound?
That sucks! I know how annoying it can be to have this happen to you, as the device was not cheap, and it’s probably not meeting your expectations.
But don’t worry, you’ve come to the right place for answers. Below, you’ll find a list of several easy fixes that can help you solve this issue once and for all.
The 8 simple fixes that can restore sound to your Apple TV are:
Keep reading to fall back in love with your Apple TV!
Let’s start by checking your HDMI ports and cables.
As you might know, HDMI has been the all-in-one standard for audio/video transmission since the technology was released back in late 2002. What you may not be aware of, is that there are different HDMI ports for different HDMI cables.
As higher picture resolutions have been released, faster transfer speeds have become a necessity. 4K (3840×2160p) file sizes are much larger than their Full HD (1920×1080p) counterparts. And since most modern TVs use 4K as the standard, an outdated HDMI cable or using the wrong port might explain why your Apple TV has not got any sound.
Trying to stream in 4K by using cables/ports that can’t handle the transfer speed is like forcing a river to flow down a straw.
Now, if you own a Full HD Apple TV model, this might not be the case for you, but you’re not off the hook yet.
There’s also the possibility that your cables/ports are the right ones, but time or misuse have damaged them. This is much more common than you’d think. In fact, simple actions, like keeping your HDMI cable tangled or pressed at a sharp angle between your TV and the wall, are more than enough to do it in.
When either of these conditions are met, you can encounter this and other issues, such as constant flickering, stuttering navigation, and much more.
Solution: Sadly, there’s no way to tell what version your current HDMI cable is, as most of them are not labeled. The only way to tell would be by looking at the package it came in, but let’s be honest. Chances are, you threw it away a long time ago.
That being said, if the cable is +7-years-old, the likelihood of it being the source of the issue is high.
Assuming that it’s newer than that, you’ll want to check for damage. If you have another HDMI cable in your home that you can use for testing, try connecting it to a different HDMI port in your TV. If the sound is restored while using your Apple TV, there’s your answer.
The good news is that you can get a modern replacement cable at any online marketplace for as little as $20.
Next, let’s make sure that your connection is ok.
You’re probably thinking that this is not the source of the problem, as you’re currently browsing the web and chatting just fine. But sometimes, diagnosing a failing connection can be trickier than it seems. In some cases, you might only have a weakened signal. This would allow you to keep doing the activities I mentioned above, while also noticing that your Apple TV has not got any sound.
Why? Due to your favorite platforms’ requirements.
Streaming content online is much harder on your network than texting your friends a funny joke. Especially at higher resolutions.
As a general rule, most streaming platforms need at least 5 Mbps to play content in Full HD resolution, and a whopping 25 Mbps for 4K.
Failing to meet these requirements can cause a lack of sound, and other issues, like Error 1021, unavailable titles, and login difficulties.
Solution: To estimate your needs, multiply the number of people you share your home network with by the Mbps your favorite streaming resolution requires. For example, let’s say you live with 4 other people and you all love 4K streaming. In such a case, you’ll need an internet plan with at least 125 Mbps (5 people x 25 Mbps).
Assuming that your current plan is already fast enough, try calling your provider and asking if they’re having coverage issues. If they tell you it’s all good on their end, resetting your modem is not the worst idea.
If you’ve never done it before, that’s ok. It’s very easy:
If this didn’t work, that’s ok. We still have a lot of ground to cover. Keep reading to discover more fixes for this issue.
Sometimes, the answer might be simpler than you think.
If your Apple TV has not got any sound, there’s a good chance that restarting it solves the problem for good.
Why? Simple.
Whenever we use our favorite apps/devices, there are thousands of background processes running at the same time. More often than not, they work as expected and that’s that. But sometimes a corrupted file or bug can make them crash and cause the platform to act weird.
By restarting your Apple TV, you’ll be giving it a chance to get rid of any troublemakers and reload most of its processes.
This fix is universal, so if you’re ever having trouble with other devices, do not hesitate to try it.
Solution: Restarting your Apple TV is very easy. Any of the options below should help you do it successfully.

I know, an outdated streaming device is probably the last thing you’d think could be causing this. But it’s actually a very common culprit.
You see, with every release, software developers try their best to install as many features and fix as many bugs as they can. Moreover, newer streaming app versions are designed with the latest streaming device software in mind.
Using an outdated device with fully updated apps and networks could be the reason your Apple TV has not got any sound.
In most cases, this shouldn’t be something you have to worry about, as there’s automatic updating. But sometimes, a corrupted file or bug can prevent this from happening.
In that scenario, you’ll have to manually download and install the latest Apple TV software version.
Solution: I know this sounds challenging. But before you call your hacker friends, let me assure you that the whole process is actually very simple:
Picking the right sound settings for your home setup is one of the most important aspects of a great streaming experience.
These days, it’s all about options. Whether it’s petrol, movies, or organic food, there’s always a choice to be made. Modern streaming device developers know this, which is why they’ve worked very hard to allow you, the user, to tweak your sound settings as much as possible.
And while this is great, it can sometimes complicate things.
Using the wrong sound settings could be the reason your Apple TV has not got any sound. Let’s say you own a full 5.1 surround sound system, but are accidentally choosing the “TV Speakers” audio option on your device.
This would cause many issues, including the one you’re currently trying to fix.
It’s always recommended that you have a clear idea of what kind of audio system you own so that you can configure it appropriately.
Solution: Checking and modifying sound settings on your Apple TV is easier than you’d think. Here’s what you have to do:
If you’re not sure which one to choose, you can always go to Google and search for “Best Apple TV audio settings for <Your Audio System’s Make And Model, Go Here>”. You should be able to find several resources with useful information for your specific case.
Most people have heard this term before, but very few of them actually know what the cache does and why it’s useful.
Since you’re reading this, I’d love to take this chance and shed some light on it.
Your apps’ cache is where a lot of important information is stored. In it, you’ll find audio, video, user preferences, and login credentials. By keeping this data available, your favorite apps can load much quicker when launched and make your user experience better.
More often than not, leaving your cache untouched can be a great advantage. But in some rare cases, a file stored within it can get corrupted and cause your Apple TV to stop sounding.
In that scenario, your best bet will be to clear it in any of the apps where this issue is present.
Solution: Deleting your favorite apps’ cache on your Apple TV is very easy:
Clearing your cache frequently can help you have a wonderful streaming experience at all times.
Now, let’s make sure your favorite platforms’ servers are ok.
As you may know, these are in charge of storing important information and giving millions of online content aficionados a high-quality service.
Given how crucial they are to their everyday operations, streaming companies have put a lot of work into making them as resistant as possible. And while they’ve made some headway, it still isn’t safe to say that they’re failproof.
In fact, things that seem unimportant, like a coding bug, a bad hard drive, or even minor hacking can affect how your favorite platforms work.
Among the most common issues that result from this are slow loading times, infinite spinning wheels, and login difficulties.
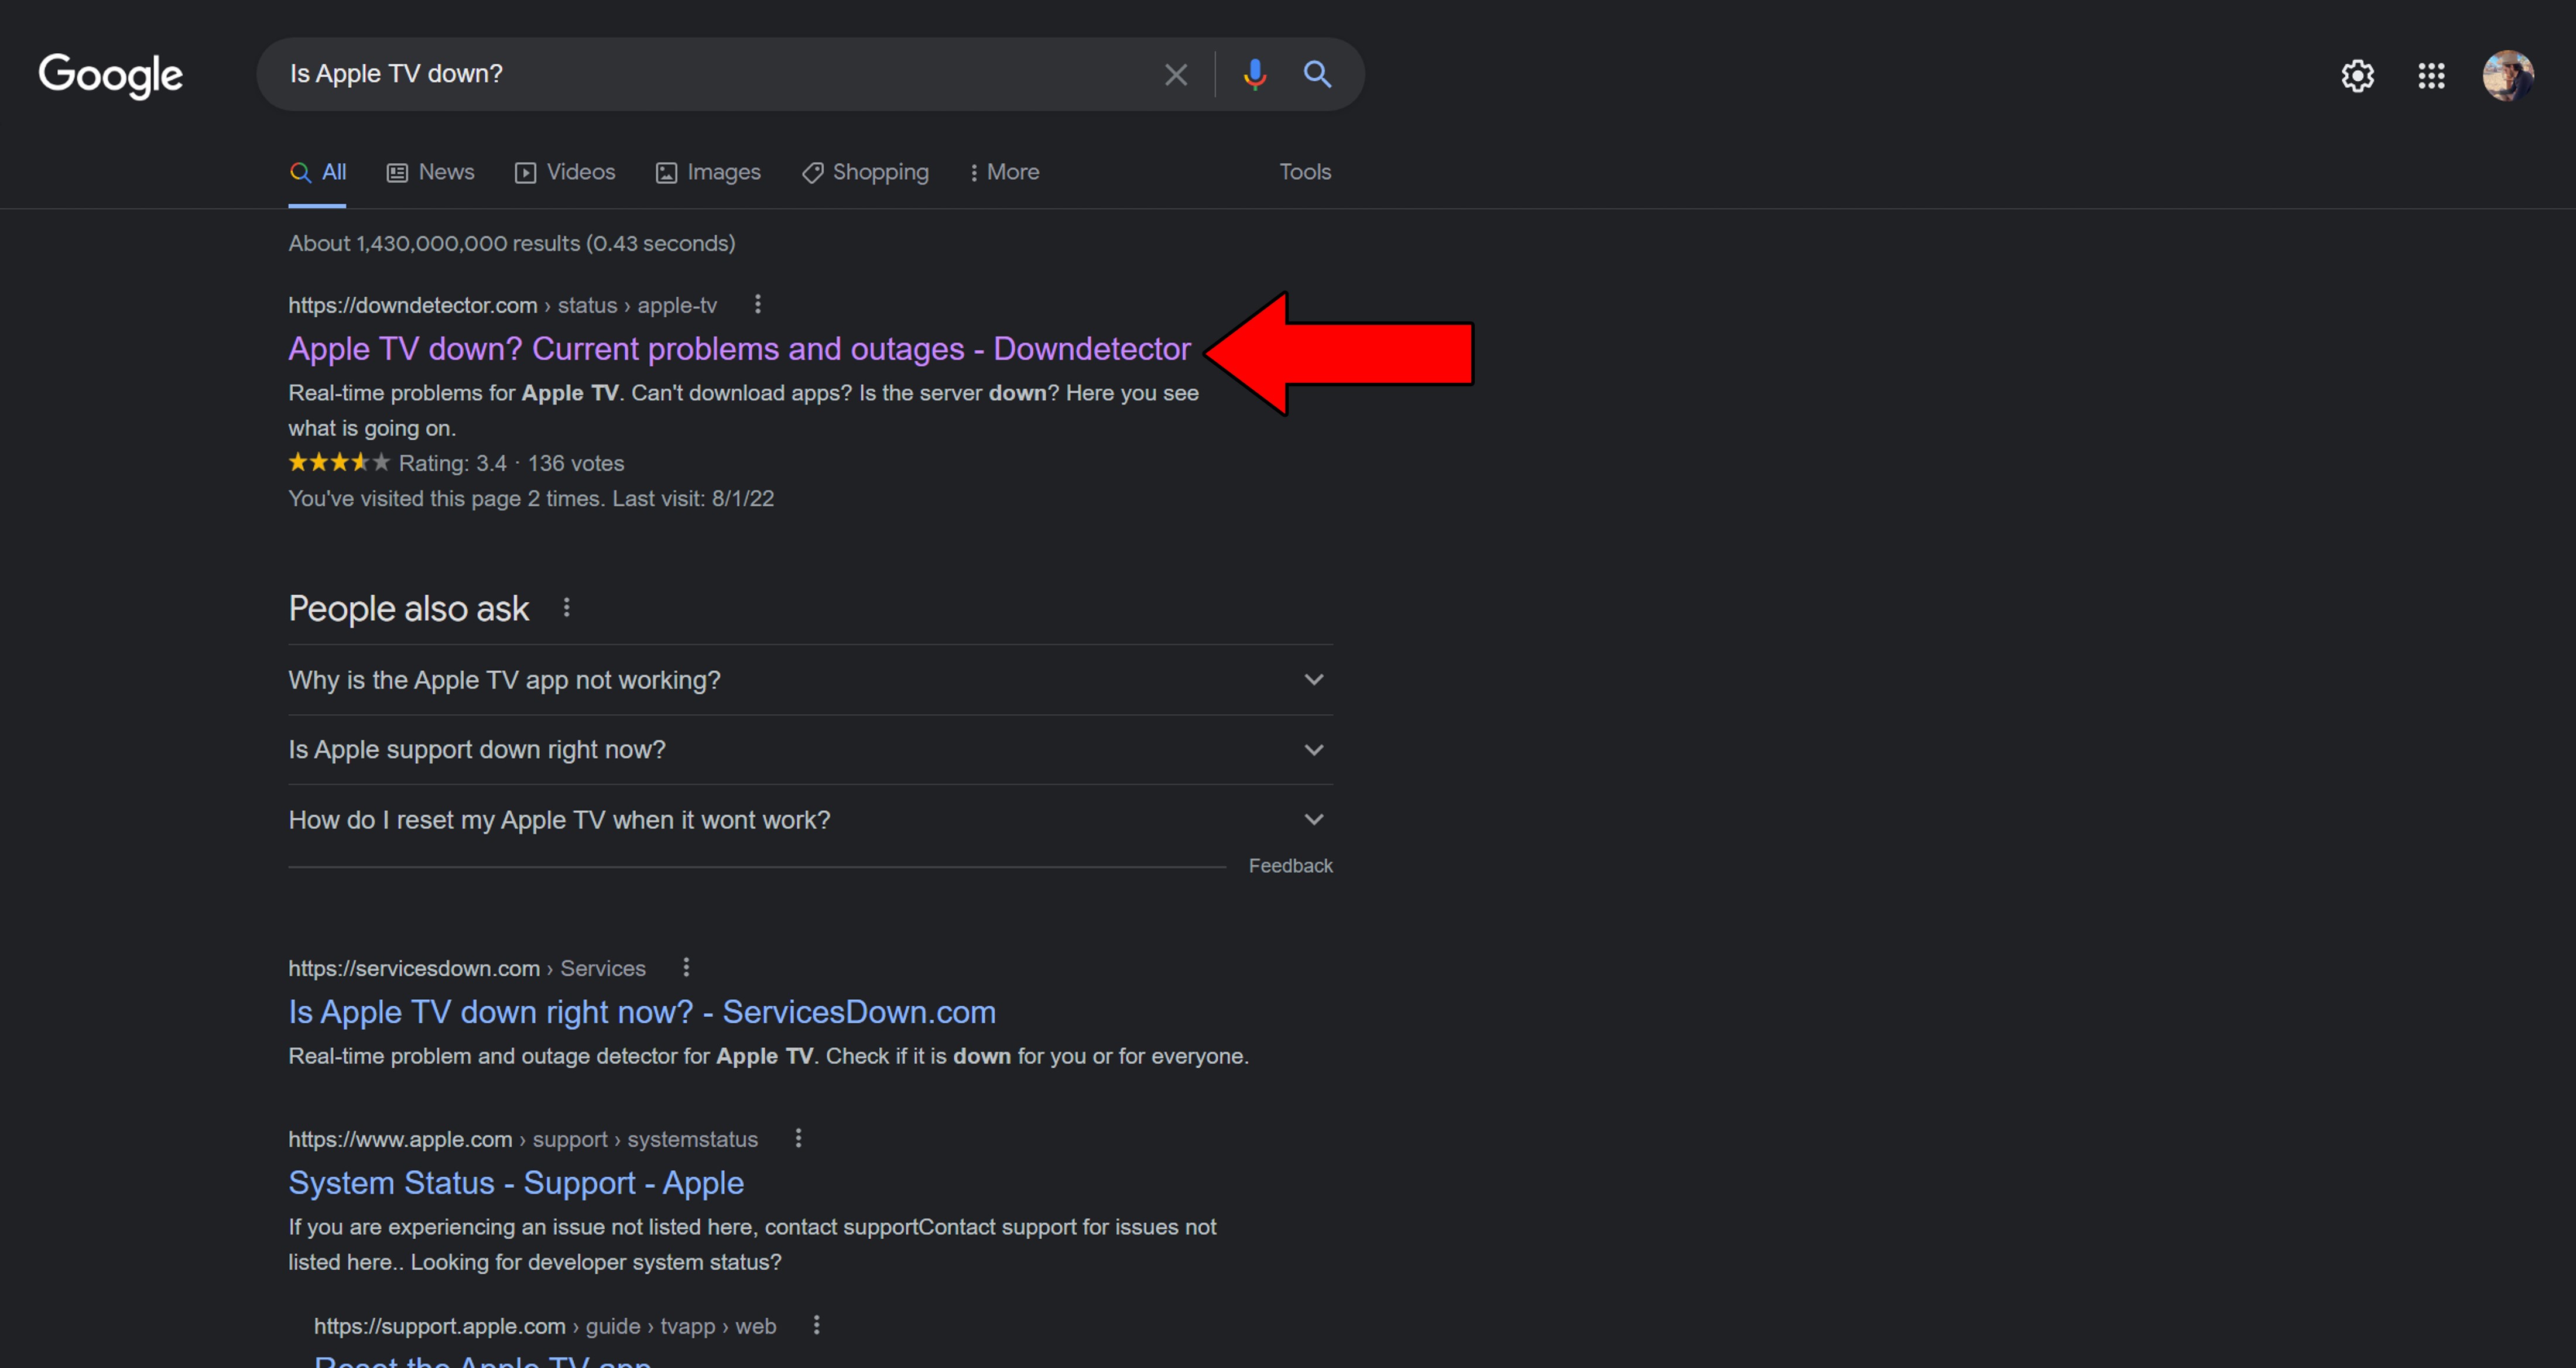
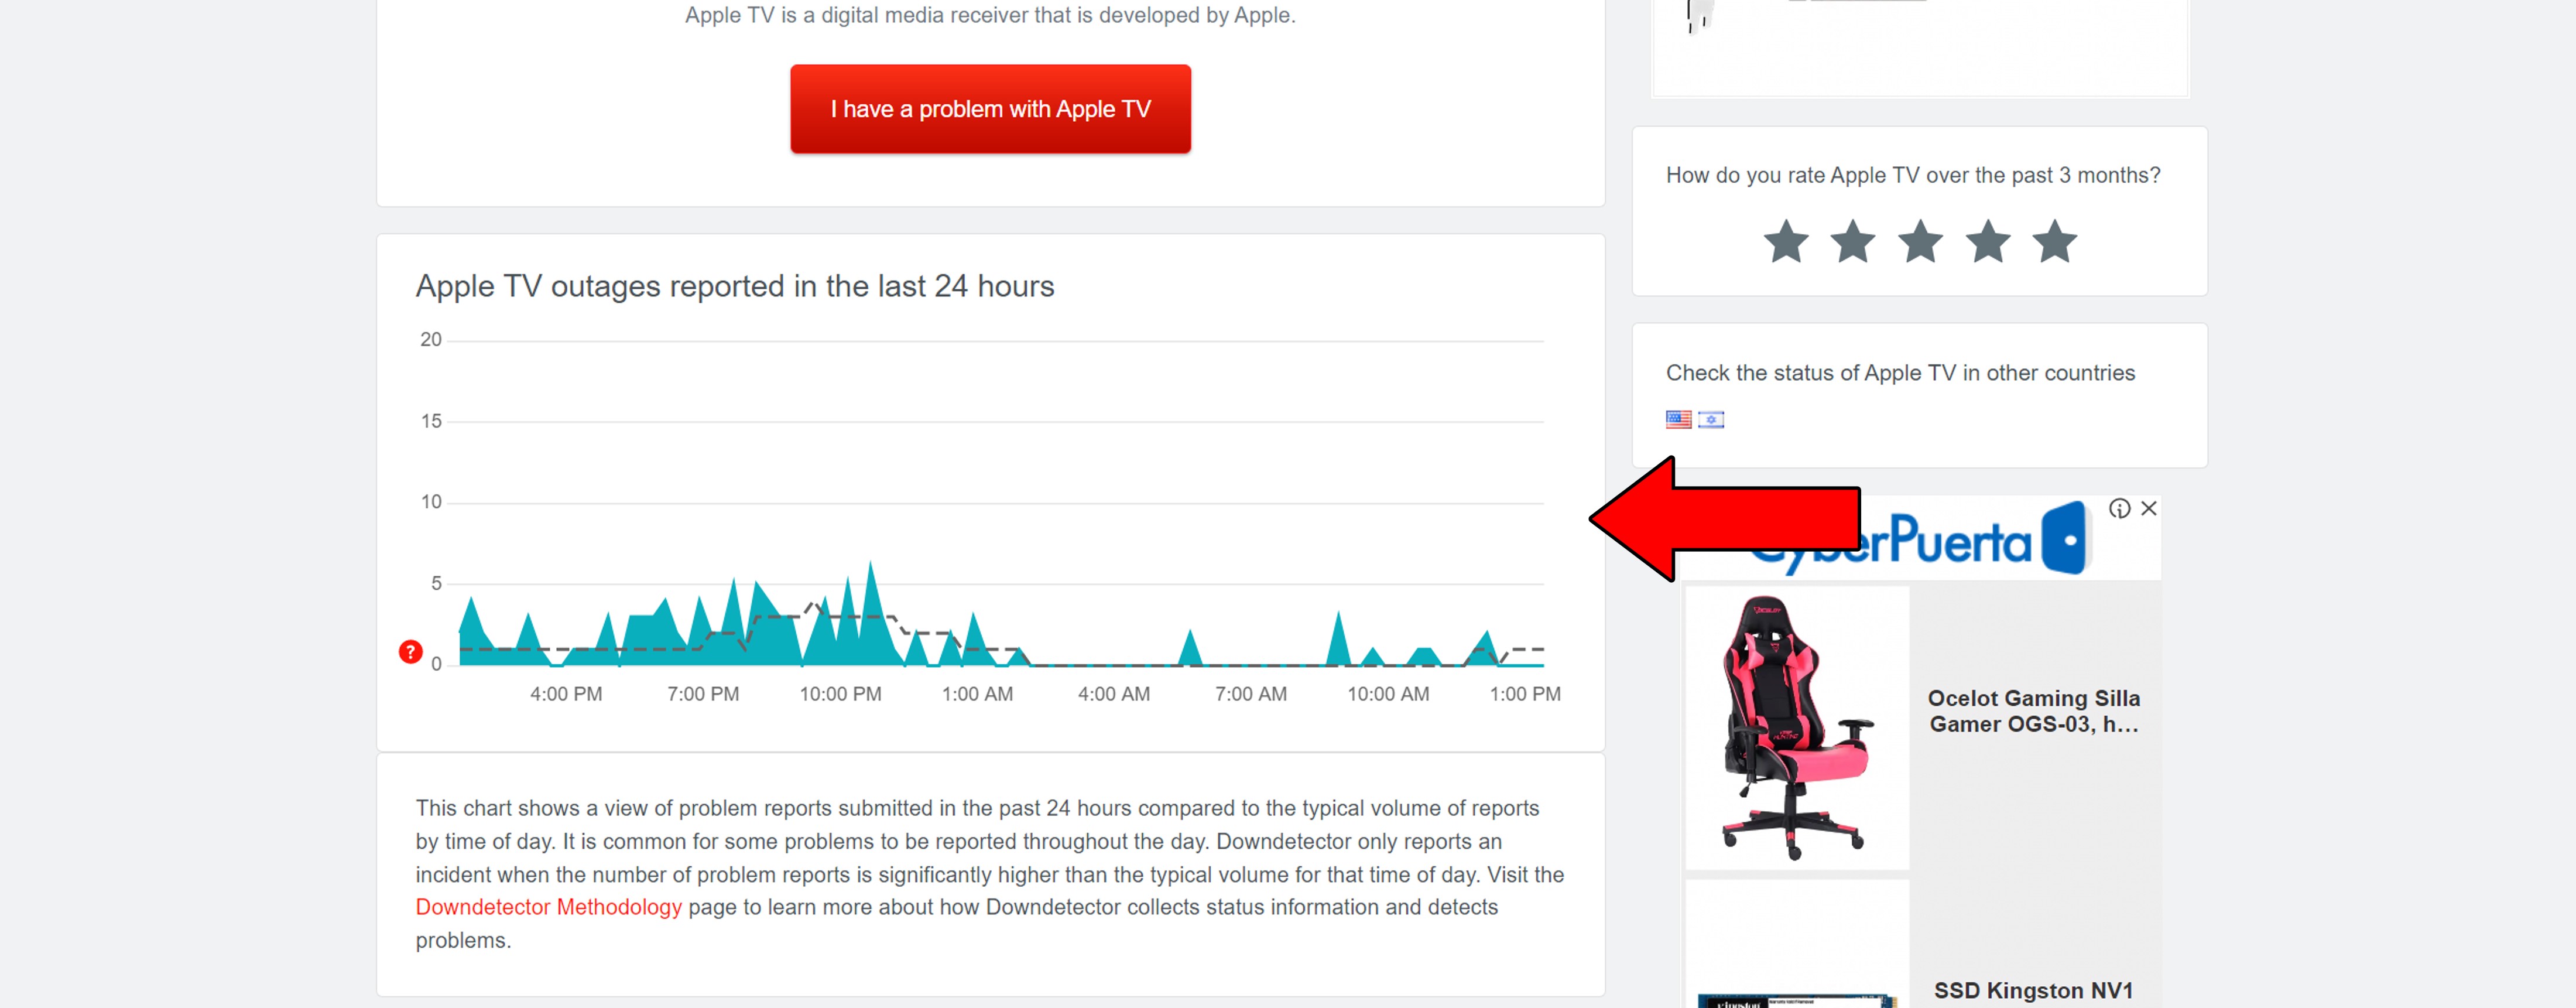
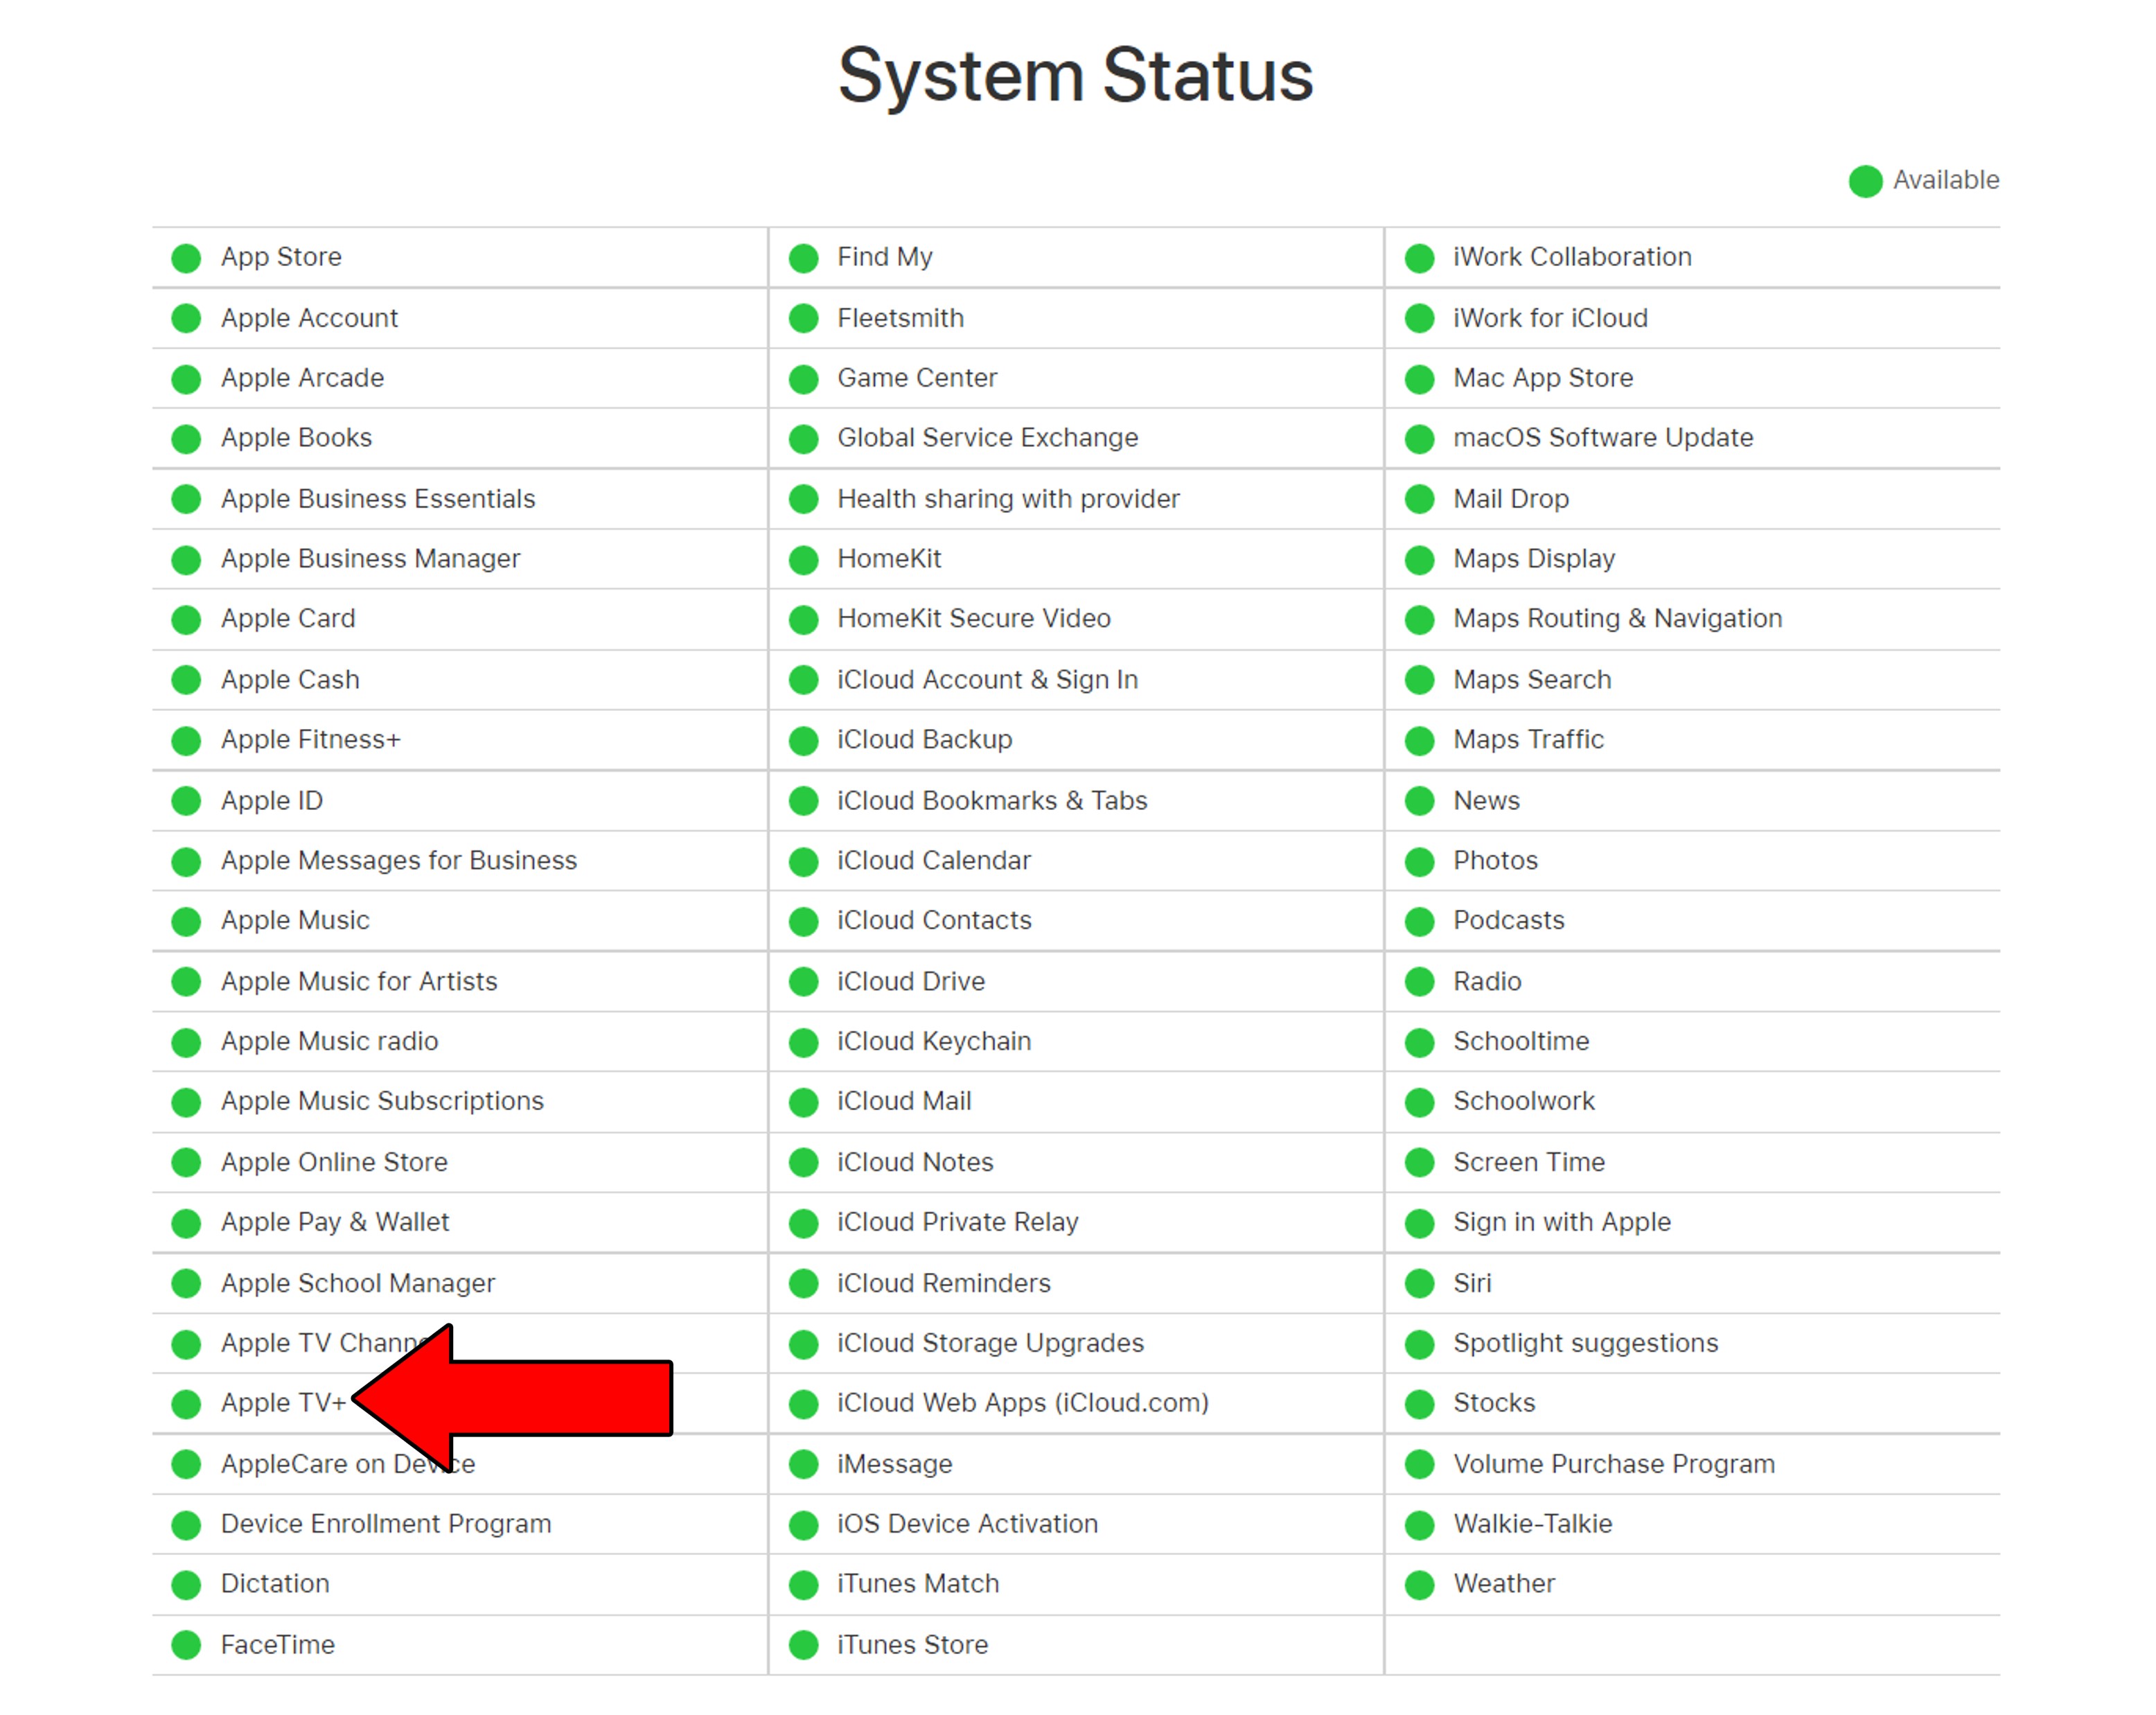
Solution: To confirm our suspicions, let’s check the real-time status of your favorite platforms’ servers. For this example, I’ll use the Apple TV+ app. You can either check it by using Downdetector, which will also work for other platforms, or by using Apple’s proprietary server status website.
Let’s start with the former:

Assuming that you want to try checking the servers through Apple’s proprietary website, here’s how to do it:
Sadly, if any of your platforms’ servers are, in fact, down, your hands are tied.
But I wouldn’t worry too much about it. Most streaming companies have very capable IT departments, so I’d be surprised if this issue lasts longer than a day at the most.
Finally, let’s try a Hail Mary.
If all else has failed, Factory Resetting your Apple TV is not the worst of ideas. As its name suggests, this process will wipe your device’s memory clean, deleting all your downloaded apps, user preferences, and favorite settings.
I know this is not ideal, but sometimes it’s the only way to get things back up and running.
I bet this won’t be the last time you’ll ever have to do it, so here’s a useful tip for future you. Keep a list of all your apps and their respective login credentials written down somewhere safe. This will save you the trouble of having to remember what to re-download after all’s been said and done.
Solution: If you’re 100% sure that there’s nothing else you want to try or save. Here’s how to Factory Reset your Apple TV:
When your Apple TV has not got any sound, things can get annoying pretty quickly. This expensive device is supposed to make your life simpler and provide you with enjoyable leisure time. When did it start doing the exact opposite?
What a disaster.
Luckily, as I hope you’ve learned in this piece, addressing most of the causes behind this is very easy. More often than not, keeping your Apple TV fully updated and making sure that your favorite streaming platforms’ servers are not failing, should do the trick.
Thank you so much for sticking with me all the way to the end. If you found this article helpful, you’ll be happy to know that we upload new content every week. Check out our other wonderful resources below to become a Tech Detective yourself!
I wish you nothing but the best.


Detective ‘Gerry’ Molina is one of the most prolific detectives on our TechDetective team. He’s known for his ability to crack down on multitudes of tech crimes on behalf of you – the citizens of the internet. Molina is often the first point of contact for many cases, working to help free victims from the tyranny of tech issues.