Are you desperately trying to figure out why your Zoom audio is too quiet?
Grab a number and get in line! This issue affects many people on a daily basis, interrupting important business meetings and long-distance dates.
I know how annoying it can be to have to repeat yourself a thousand times and struggle to hear what other people are saying.
But don’t worry, you came for answers, and you won’t leave without them. Below, you’ll find a list including many easy steps to solve this problem for good.
The 7 simple steps that can stop your Zoom audio from being too quiet are:
Read on to make your meetings sound crystal clear again!
This might sound obvious, but you wouldn’t believe how easy it can be to miss. A lot of people think that their computer or Smartphone audio levels are the same as Zoom’s.
But this is not the case.
They’re two separate controls that work independently. This could quickly turn into a confusing situation when your PC’s system volume is all the way up and your Zoom audio is too quiet. Now, don’t get me wrong, adjusting your system’s audio levels will have an impact on your meetings. But it won’t be as effective as tweaking the settings from within the platform.
Solution: First, I’d recommend setting your device’s volume to 50%, as this will prevent any audio spikes that could damage your speakers.
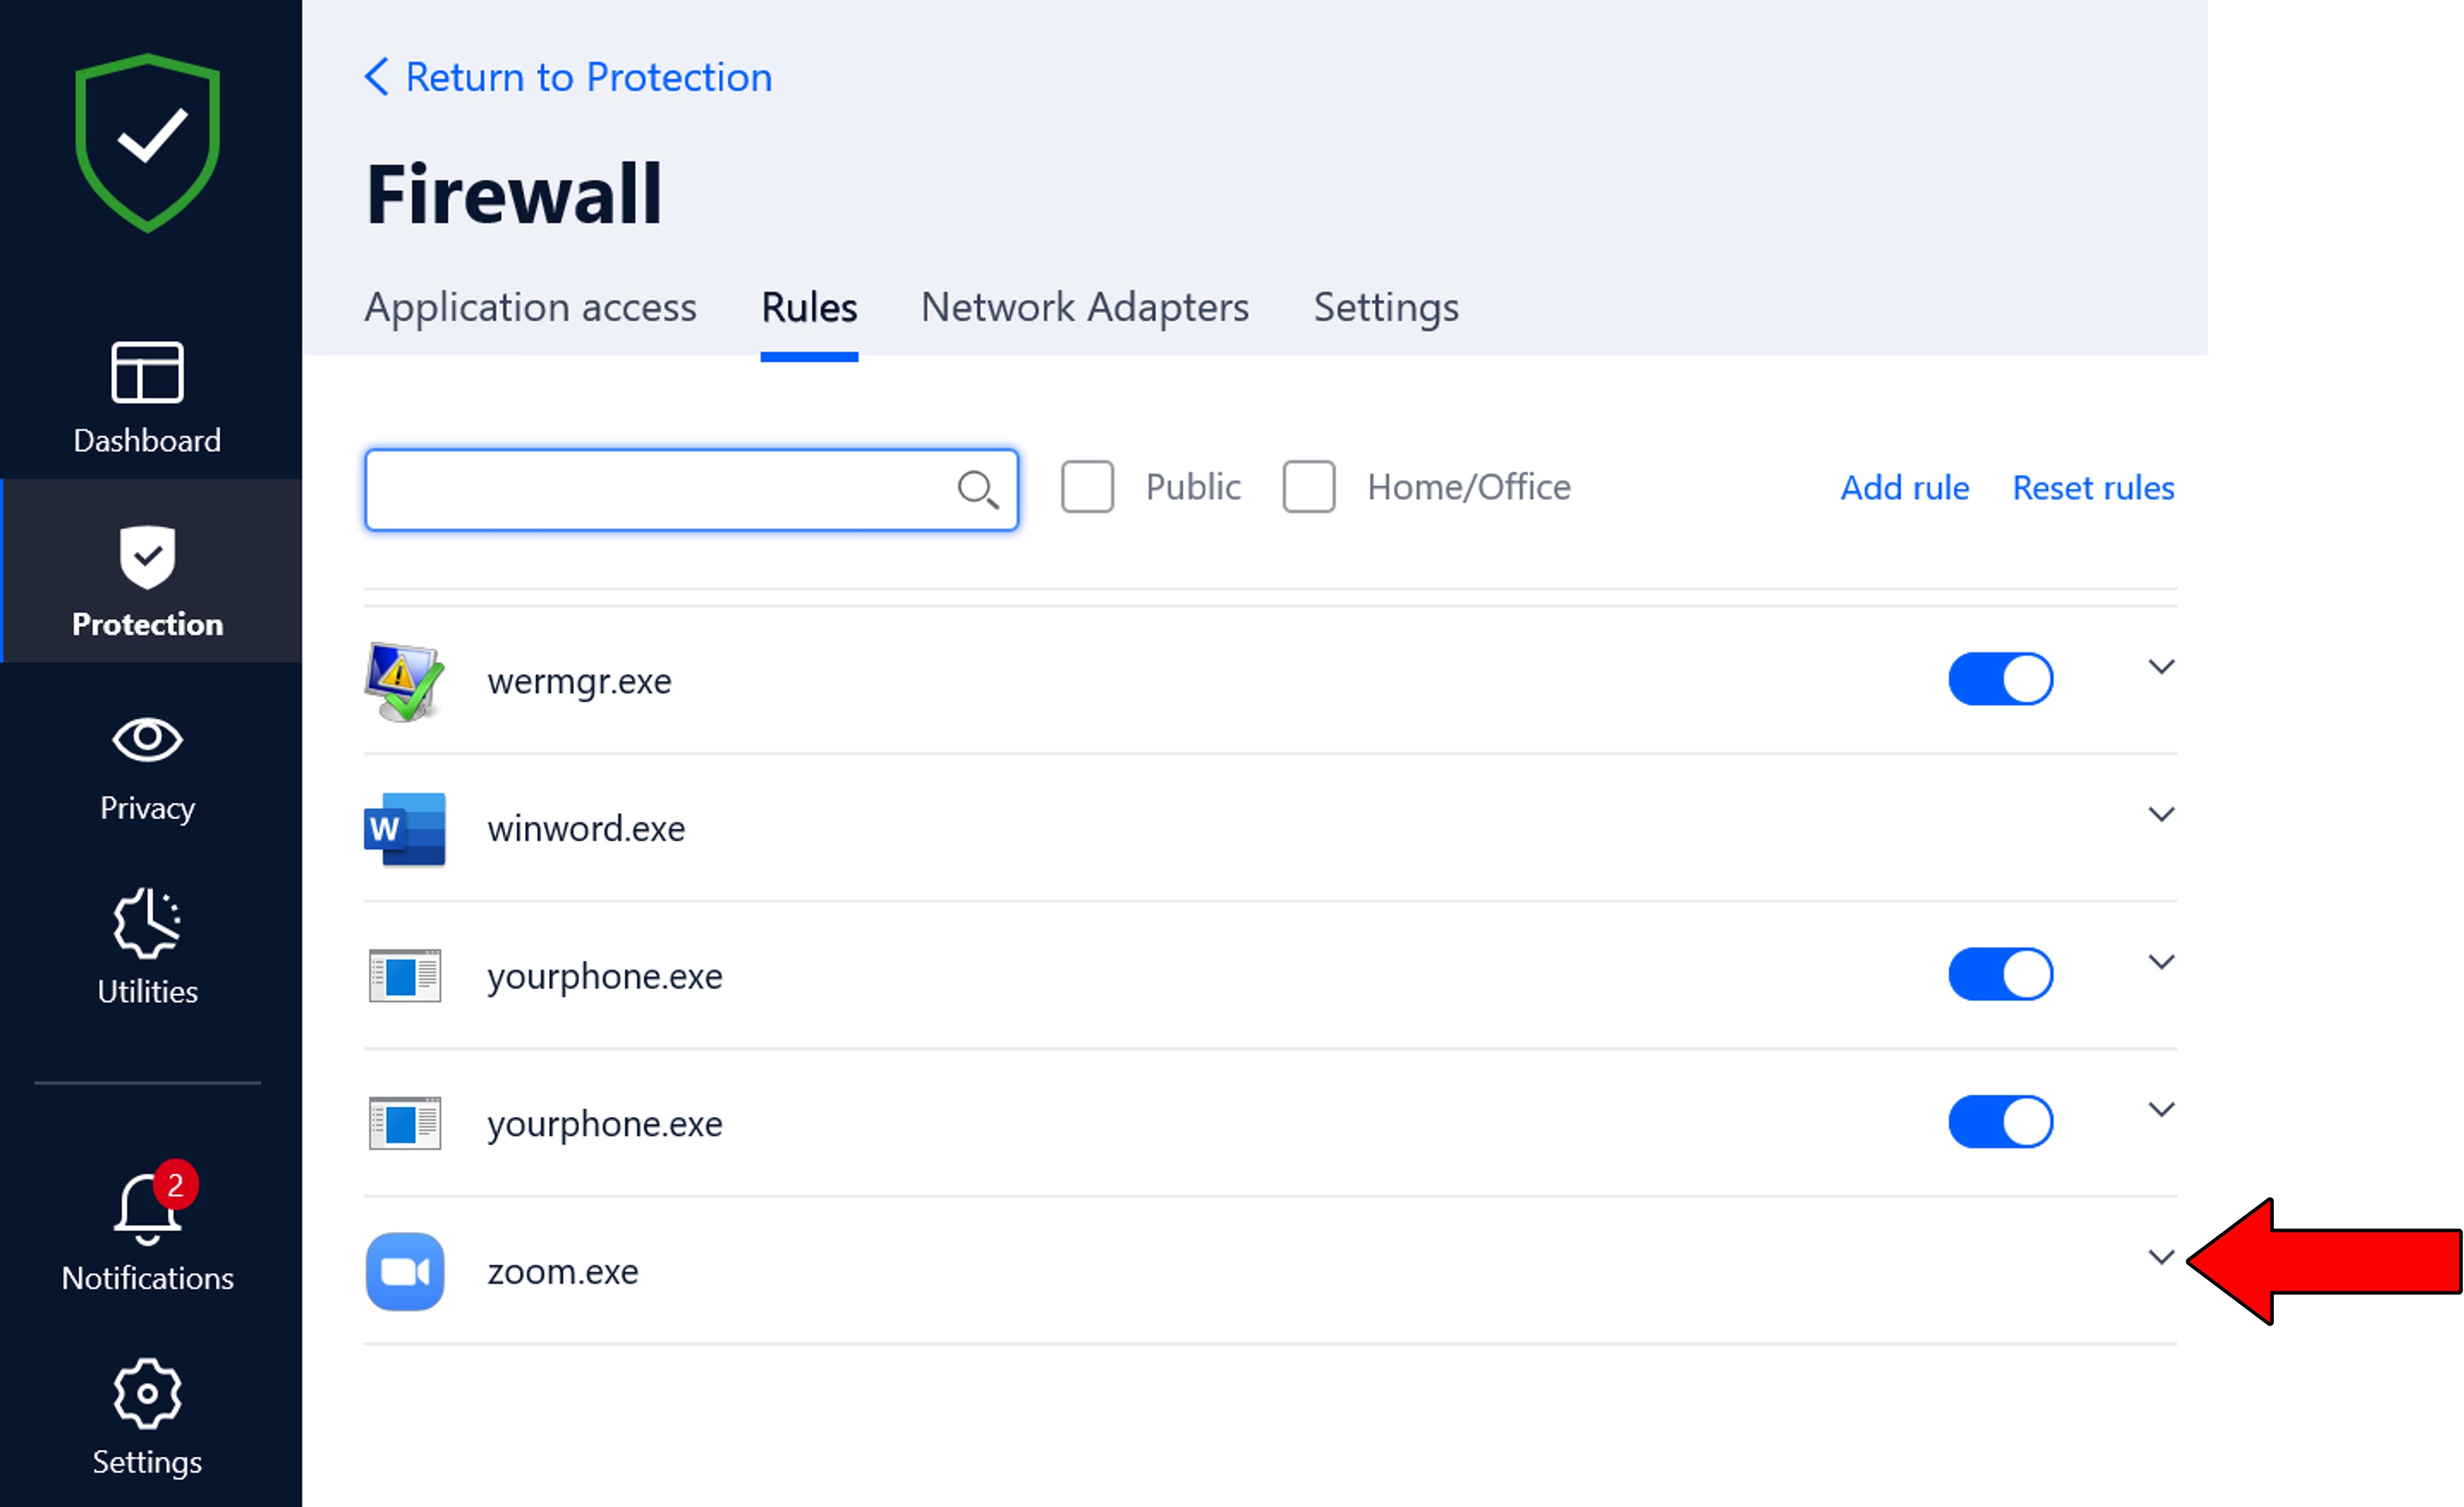
Once you have done that, launch Zoom and follow these steps:
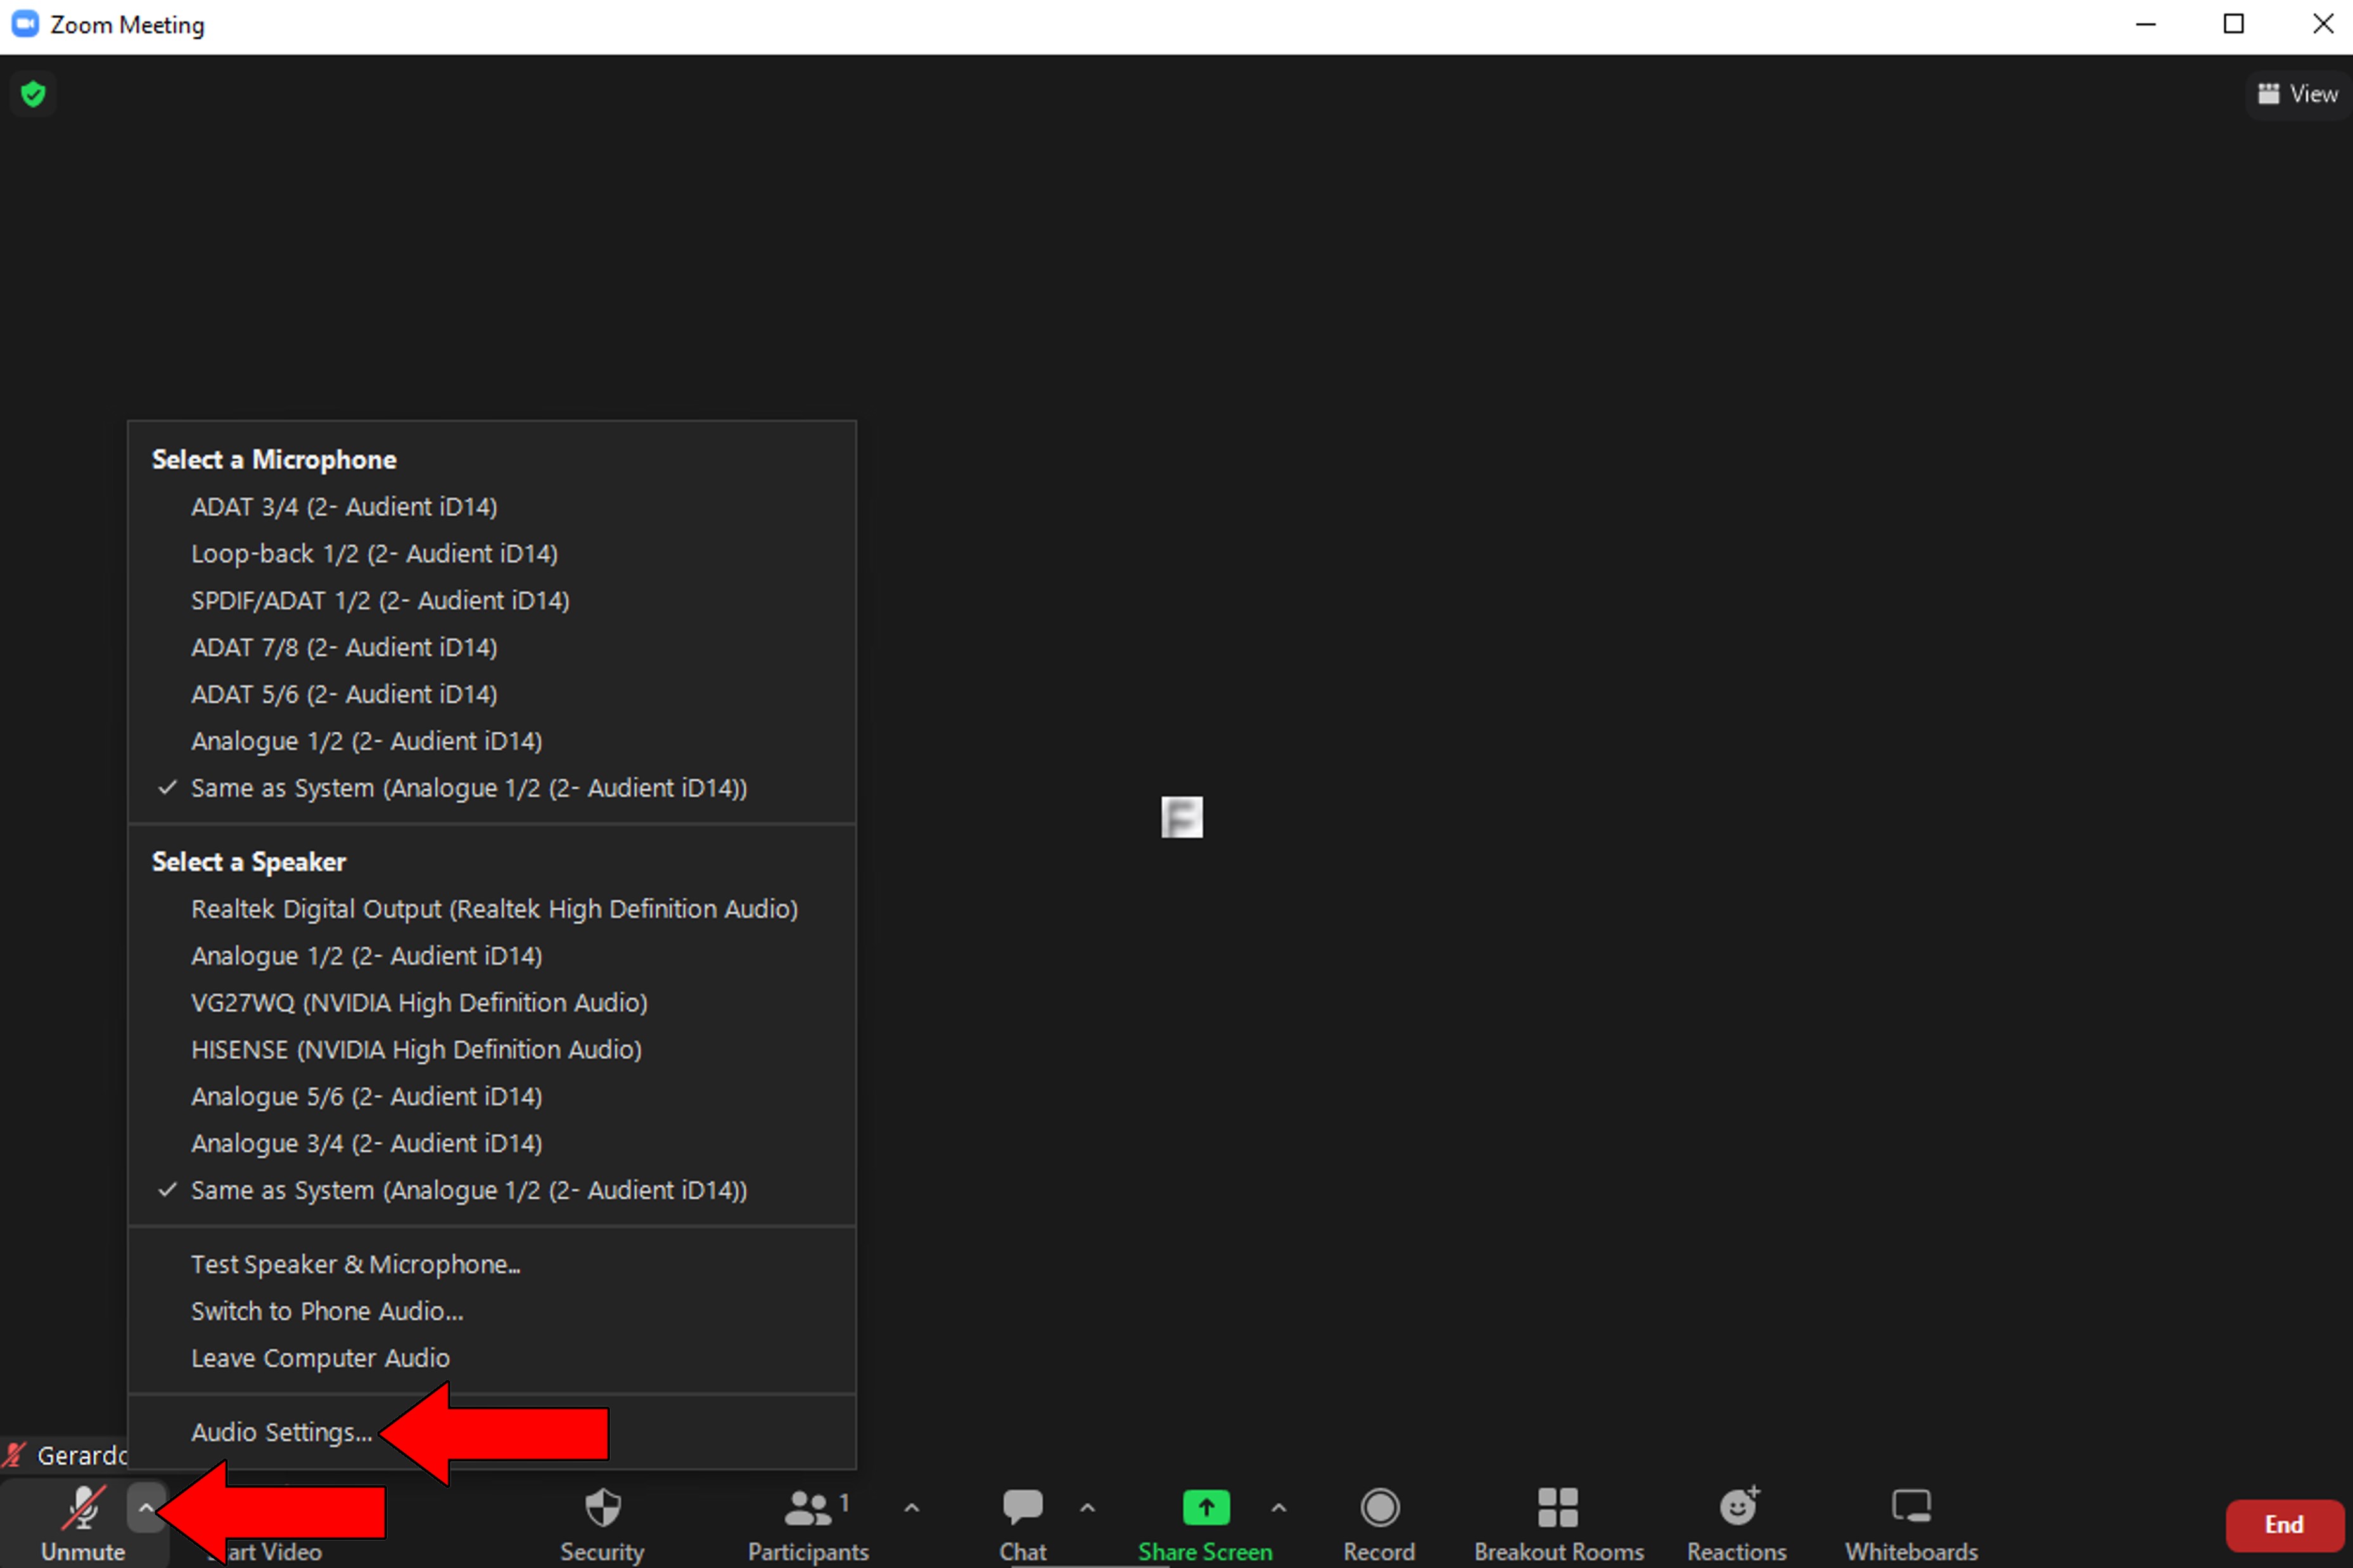
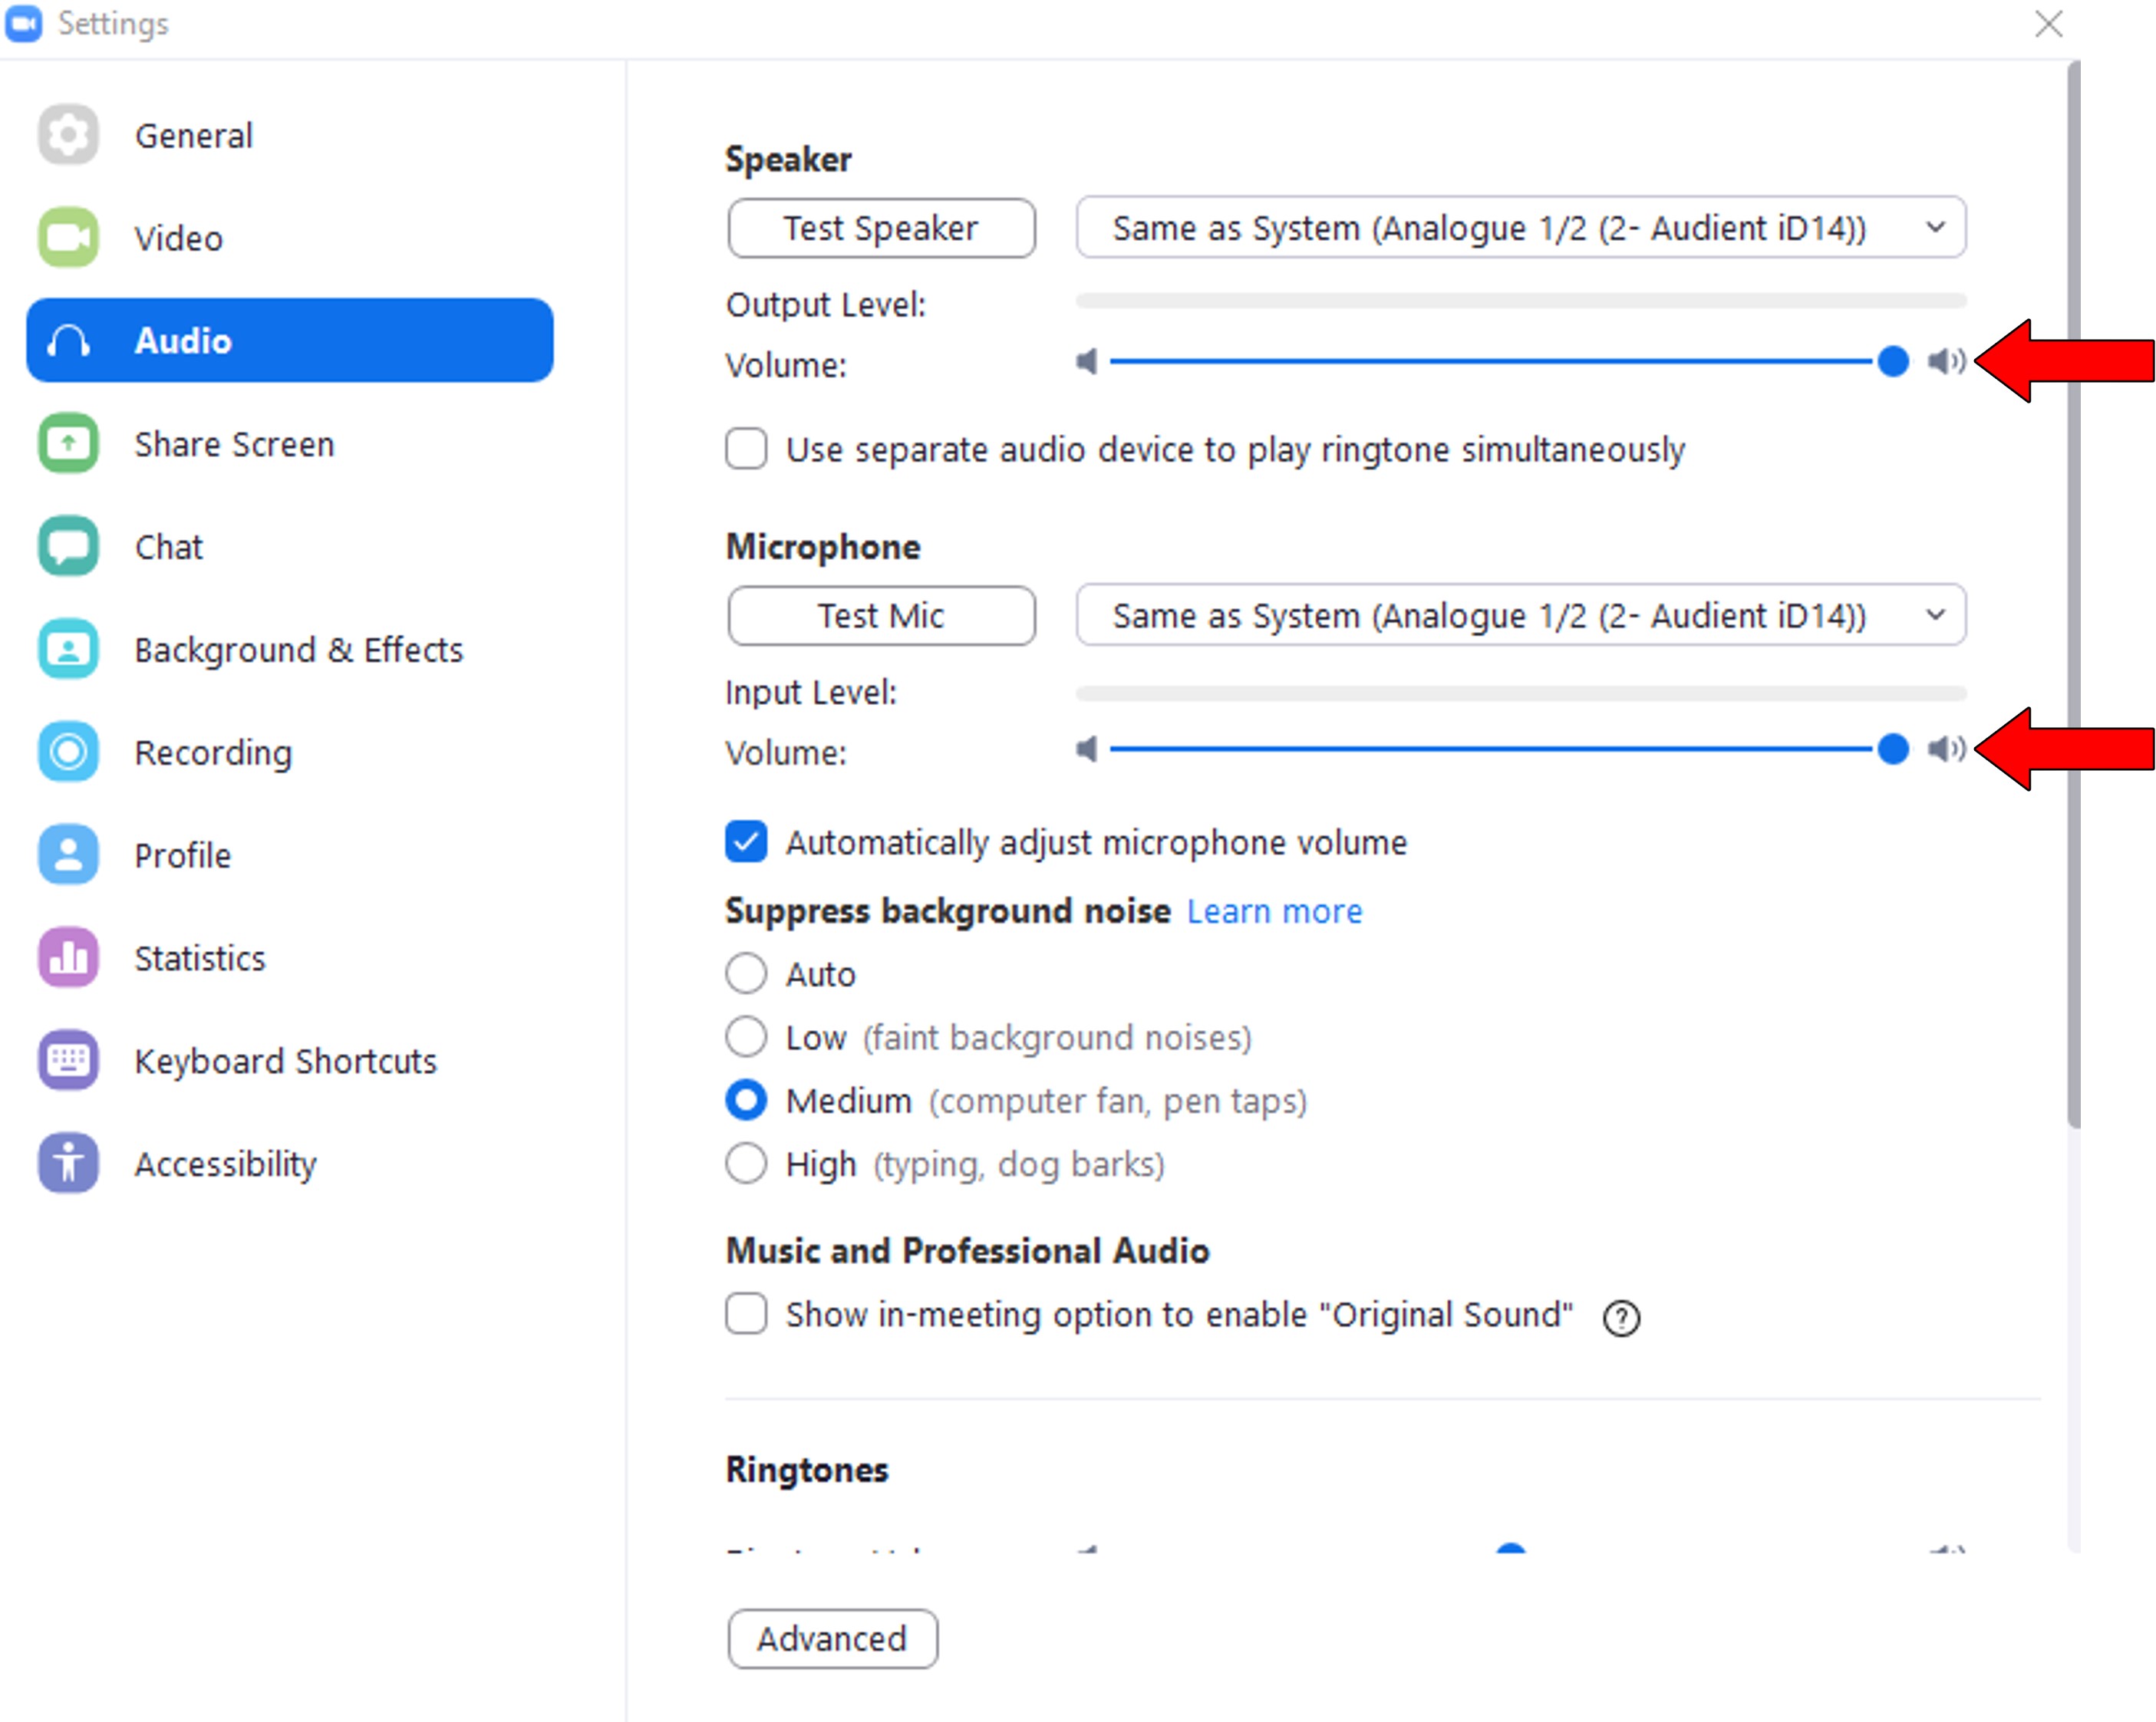
2. In the “Audio” tab, increase the volume levels for both your speakers and microphone. Also, please make sure that you’re using the right inputs and outputs. In my case, that’s “Analogue 1/2”, which belongs to my studio audio interface.
3. Adjust your levels as you need until other people can hear you clearly, and you can hear them
Next, let’s rule out server failure.
If you’re familiarized with what servers do, that’s great. You’re one step closer to becoming a Tech Detective! But if this concept is new to you, let’s take this chance to shed a little light on it.
Servers are pieces of tech equipment that streaming and search engine companies, as well as communications platforms, use to back up data and manage user traffic, among other things.
They have become a key part of most online services, and as such, the people behind them work very hard every day to make them more and more resistant. Luckily, their efforts have paid off, and modern servers are far superior to their older counterparts.
But even today, they have their weaknesses.
This might be hard to believe, but things that you’d think are unimportant, like a hard drive not working properly, a bug in the coding lines, or even hacking attempts can prove disastrous.
When any of these things happen, you’ll likely have to deal with many issues, such as being disconnected, even on healthy Wi-Fi, stuttering audio, and much more.
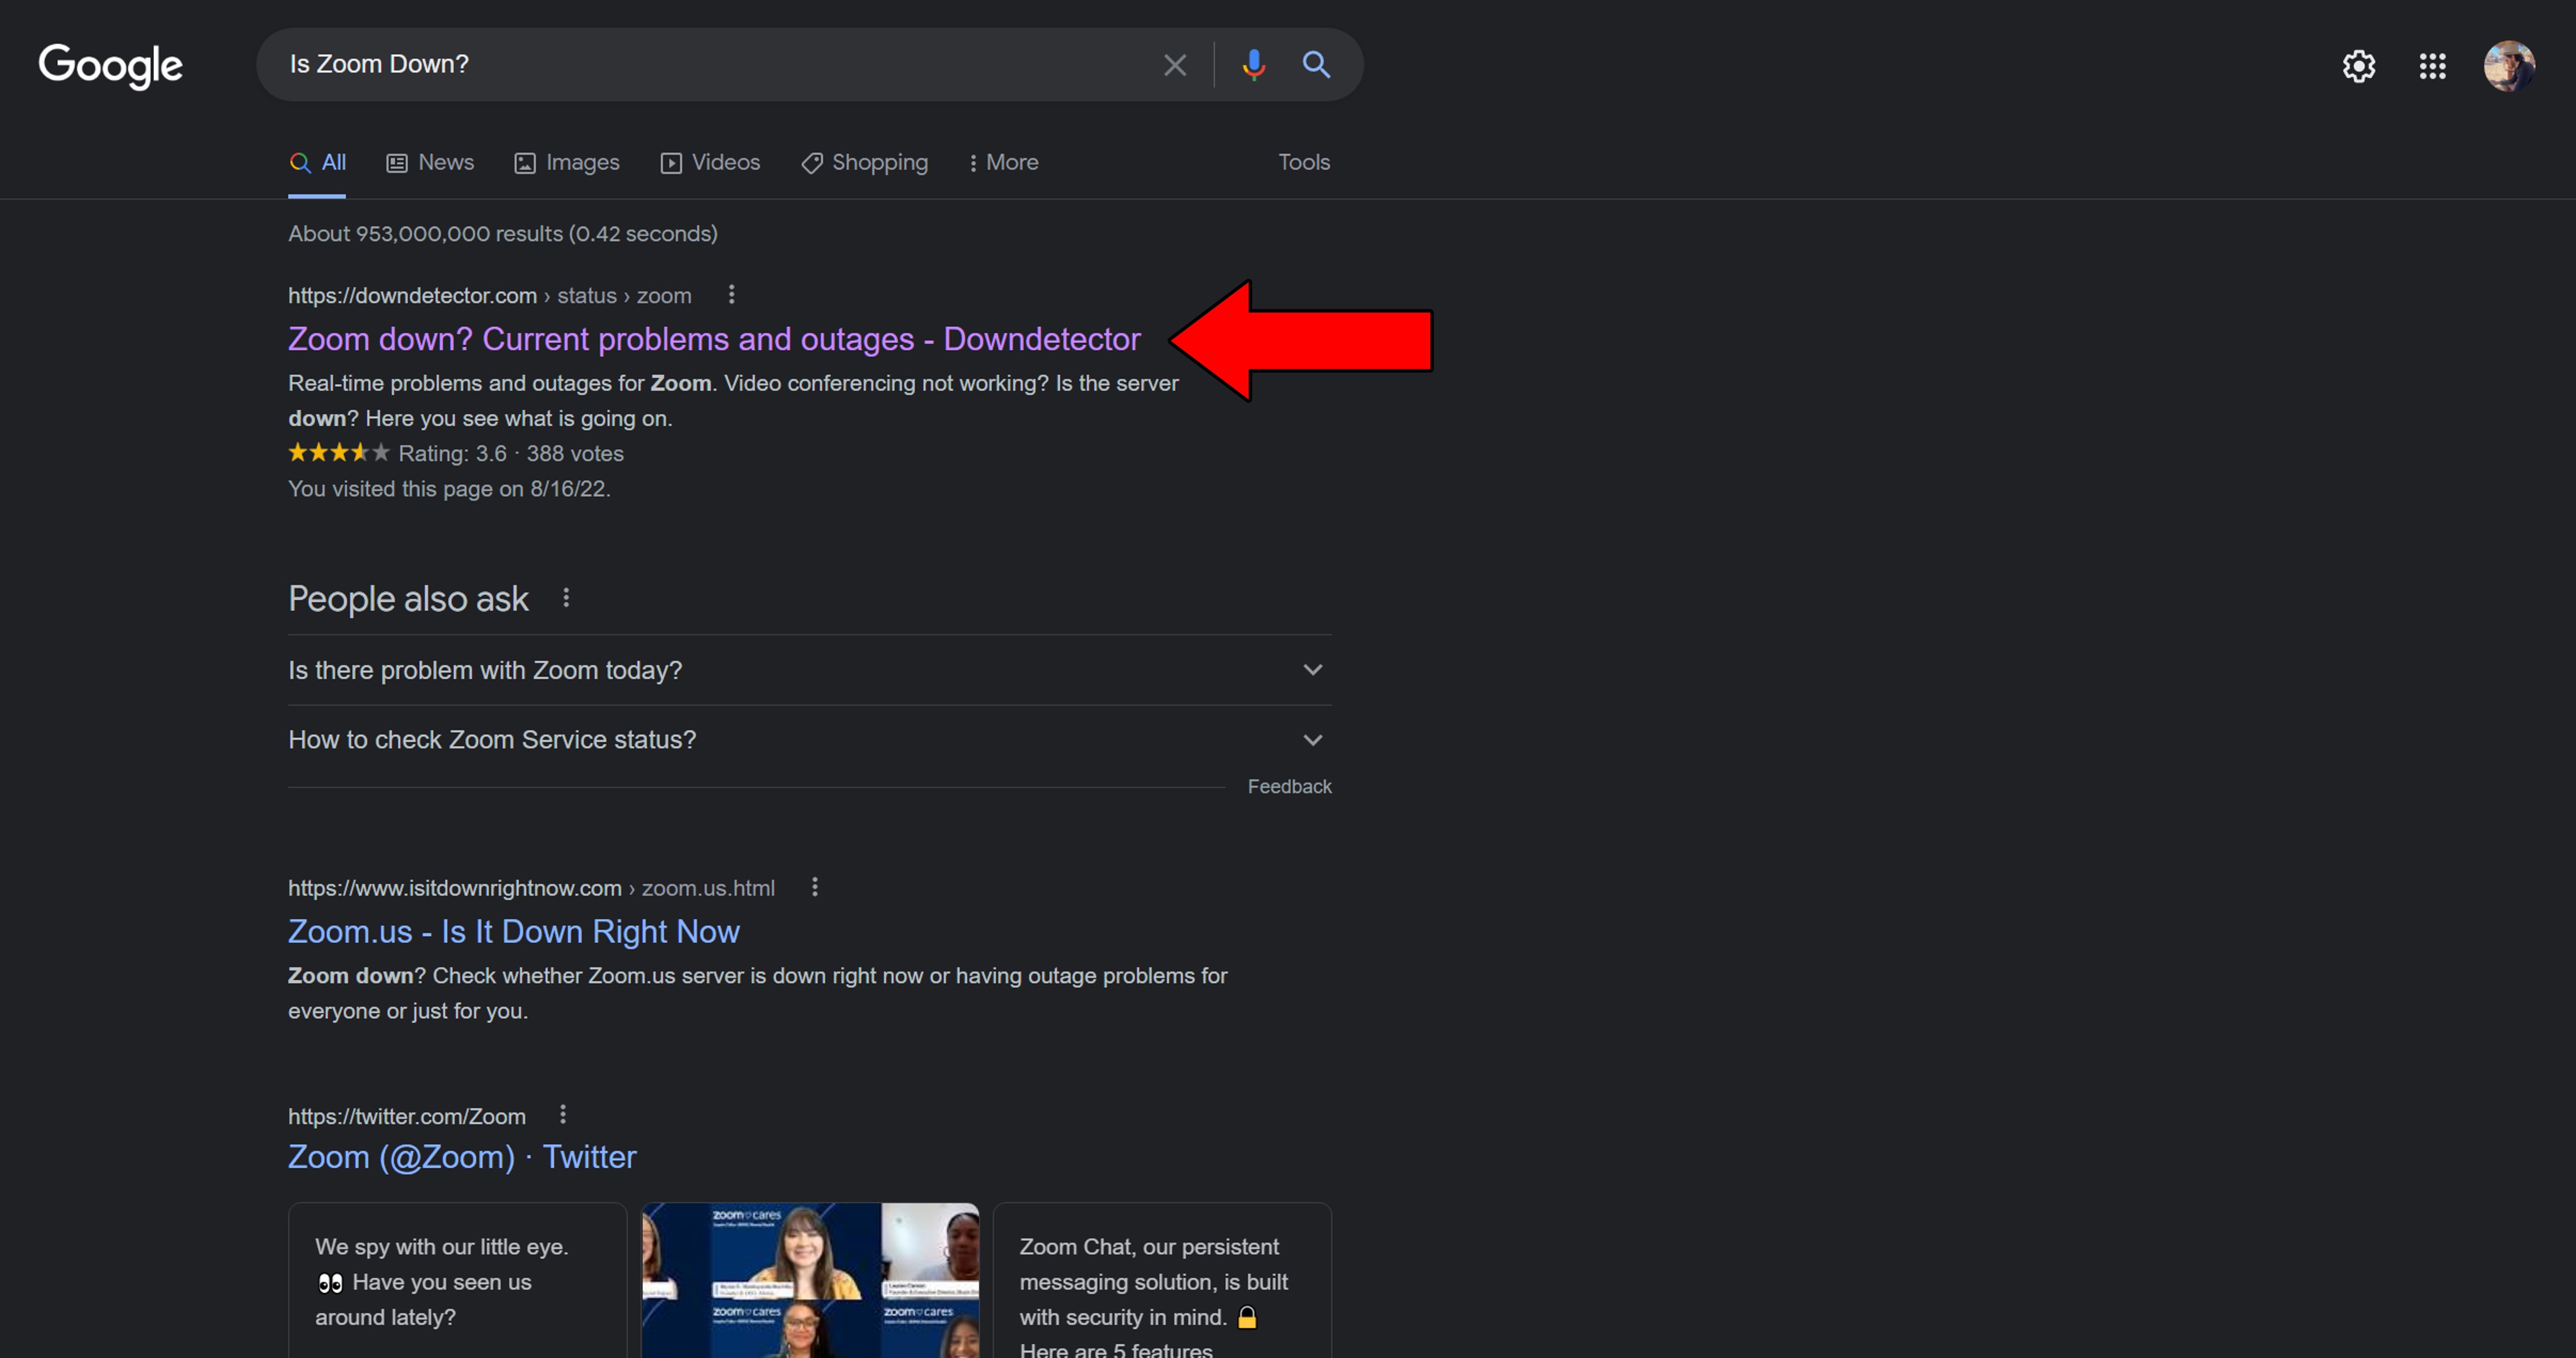
Solution: I know this sounds like something straight out of a Sci-Fi movie, but you can check the real-time status of Zoom’s servers in just a couple of clicks.
Here’s how:
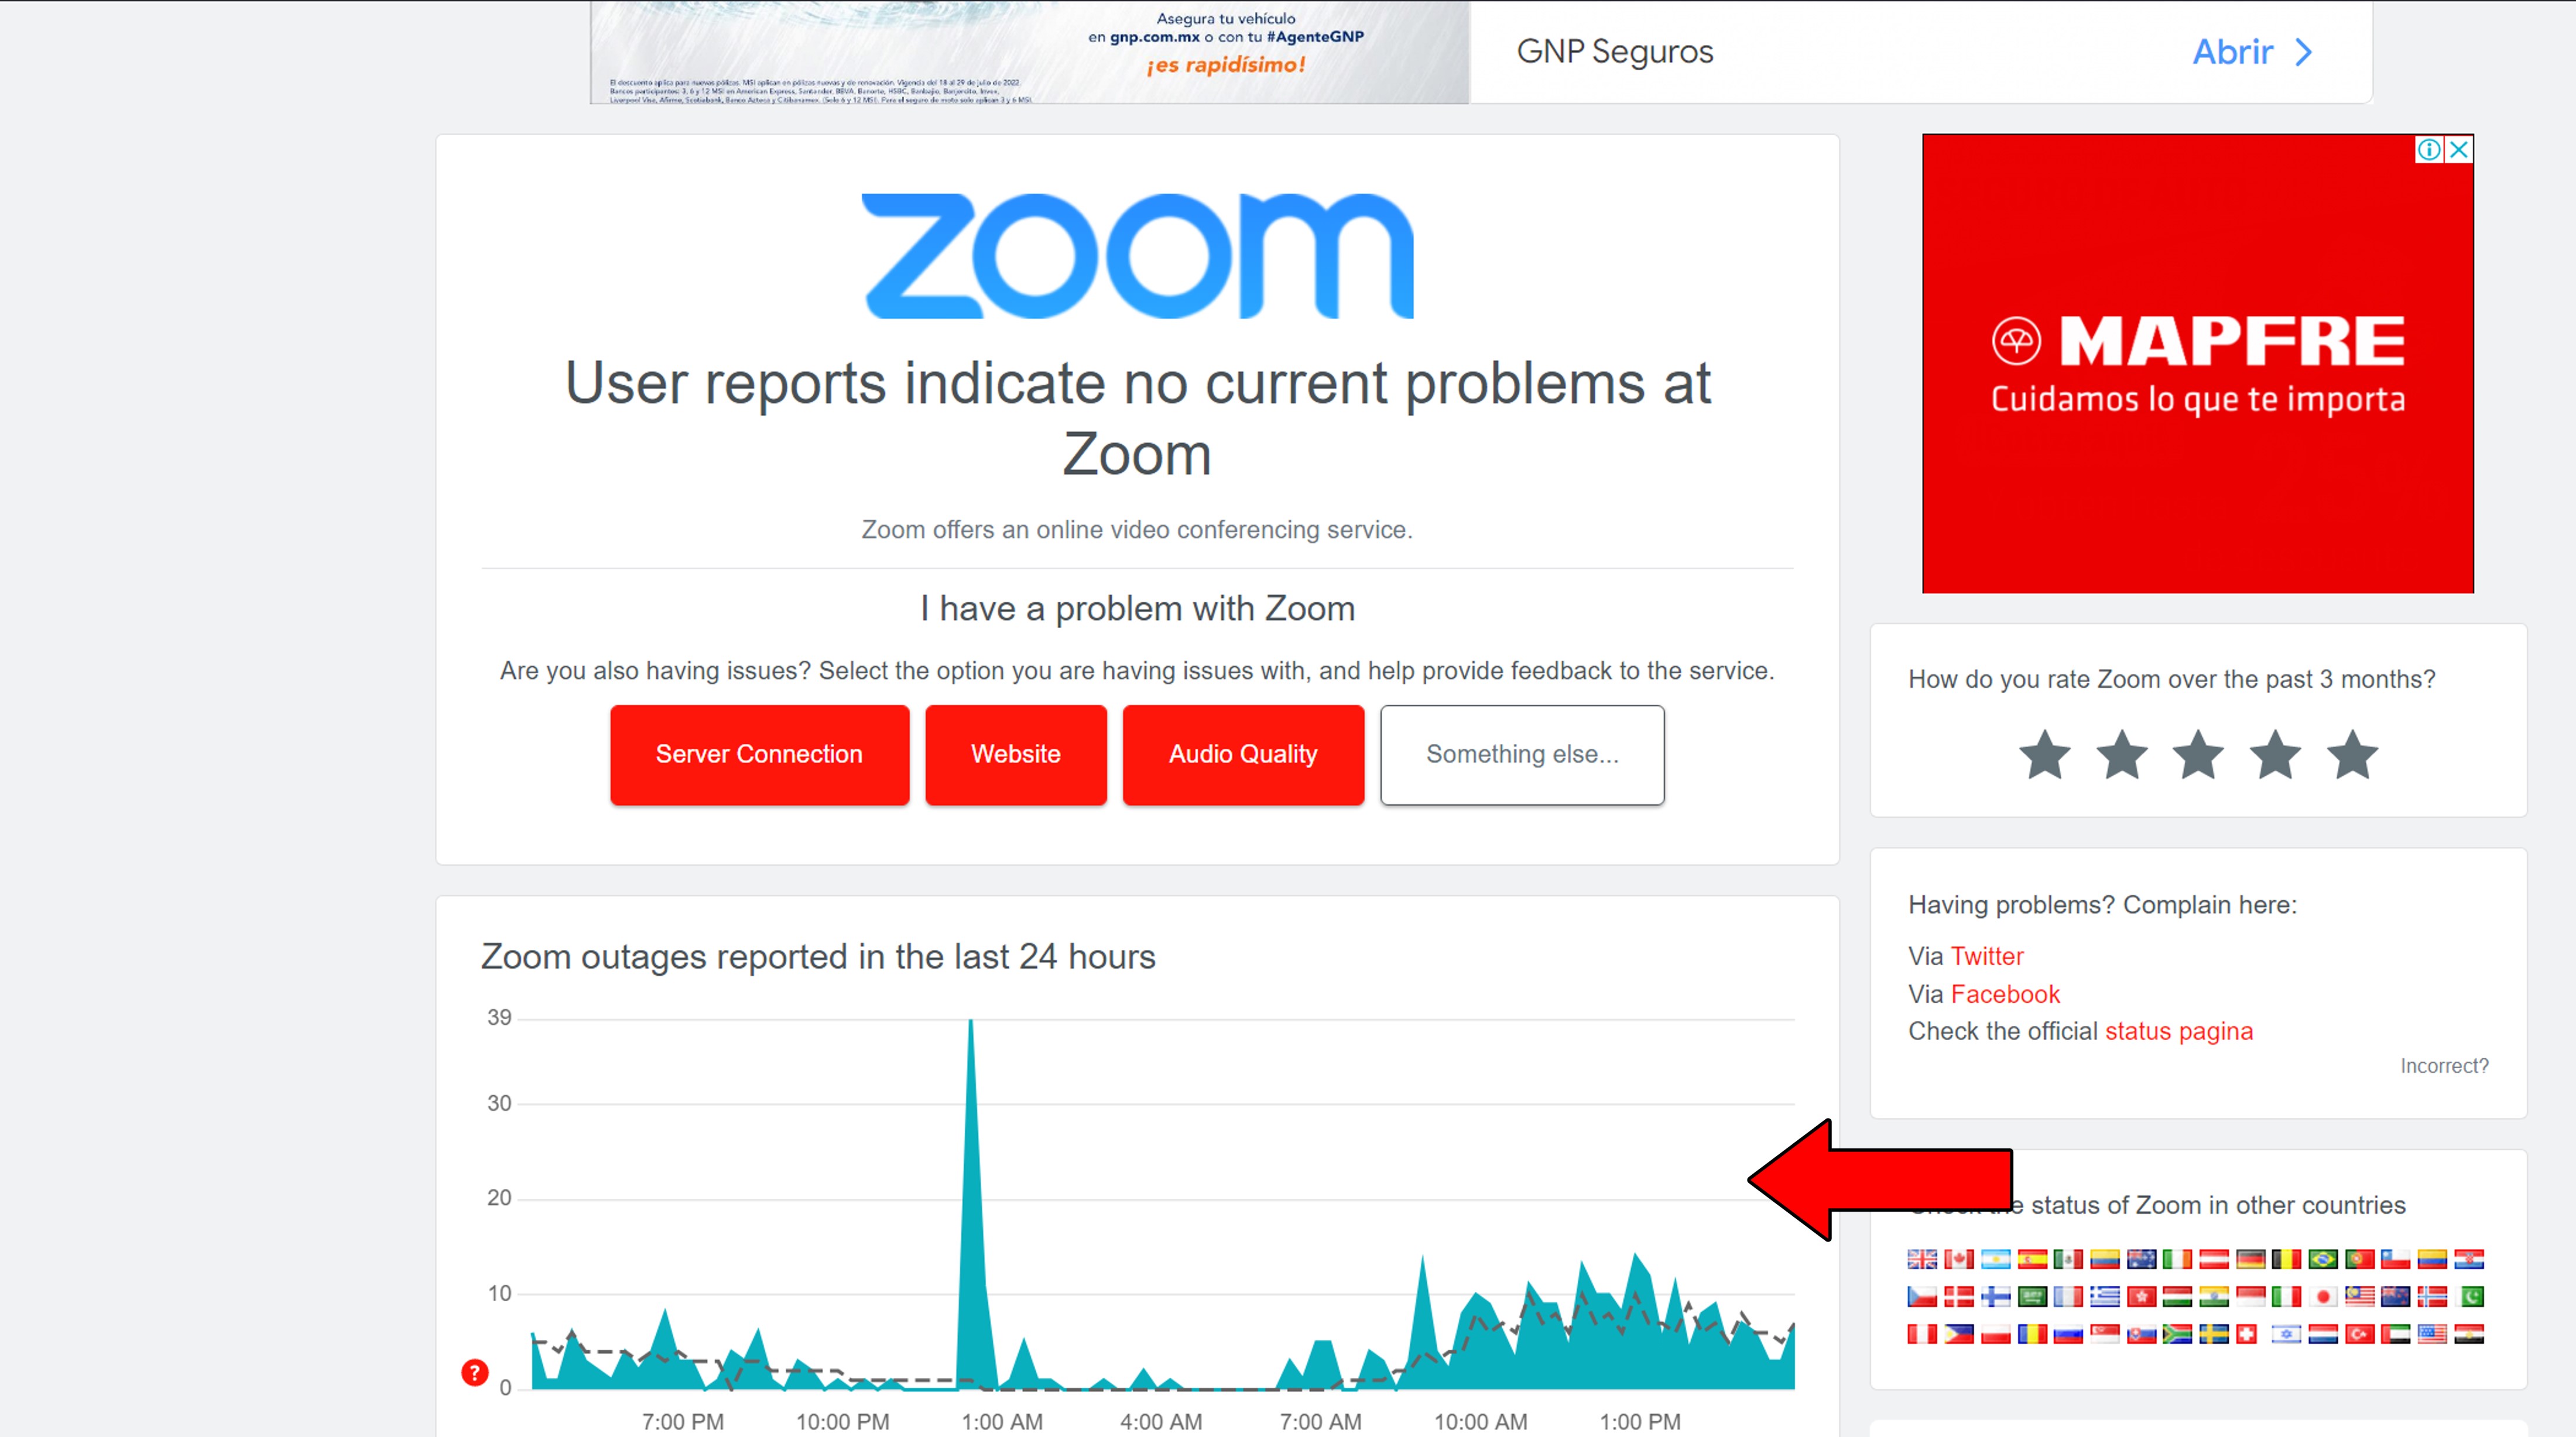
Ideally, you want an empty graph. But even today that’s too much to ask, and there will always be users having problems.
That being said, small periodic spikes should not concern you as much as sudden mile-high ones. It’s those you have to look out for. When you spot them, it’s almost a certainty that Zoom is down. The good news is that these things rarely ever last longer than a few hours.
Just sit tight.
Most of the time we have no control over what goes on outside our work area. Whether it’s barking dogs, a blender, or a sneezing grandpa (I swear mine’s louder than a freight train), random background noises can put us on the spot.
This is why having noise-canceling features can be very useful. But what if I told you that overusing it could explain why your Zoom audio is too quiet?
Yes, the platform is configured to be very accurate when it comes to detecting background noises and telling them apart from your voice. But as good as it is, it’s still not perfect. These days, you have 4 different noise-canceling settings on Zoom: Auto, Low, Medium, and High.
The higher you go, the more intense noise-cancellation will be, and setting Zoom to “Auto” allows the platform to adjust the reduction depending on different situations.
If you suspect this feature to be the source of the problem, you’ll have to tweak the settings.
Solution: Here’s what you have to do:
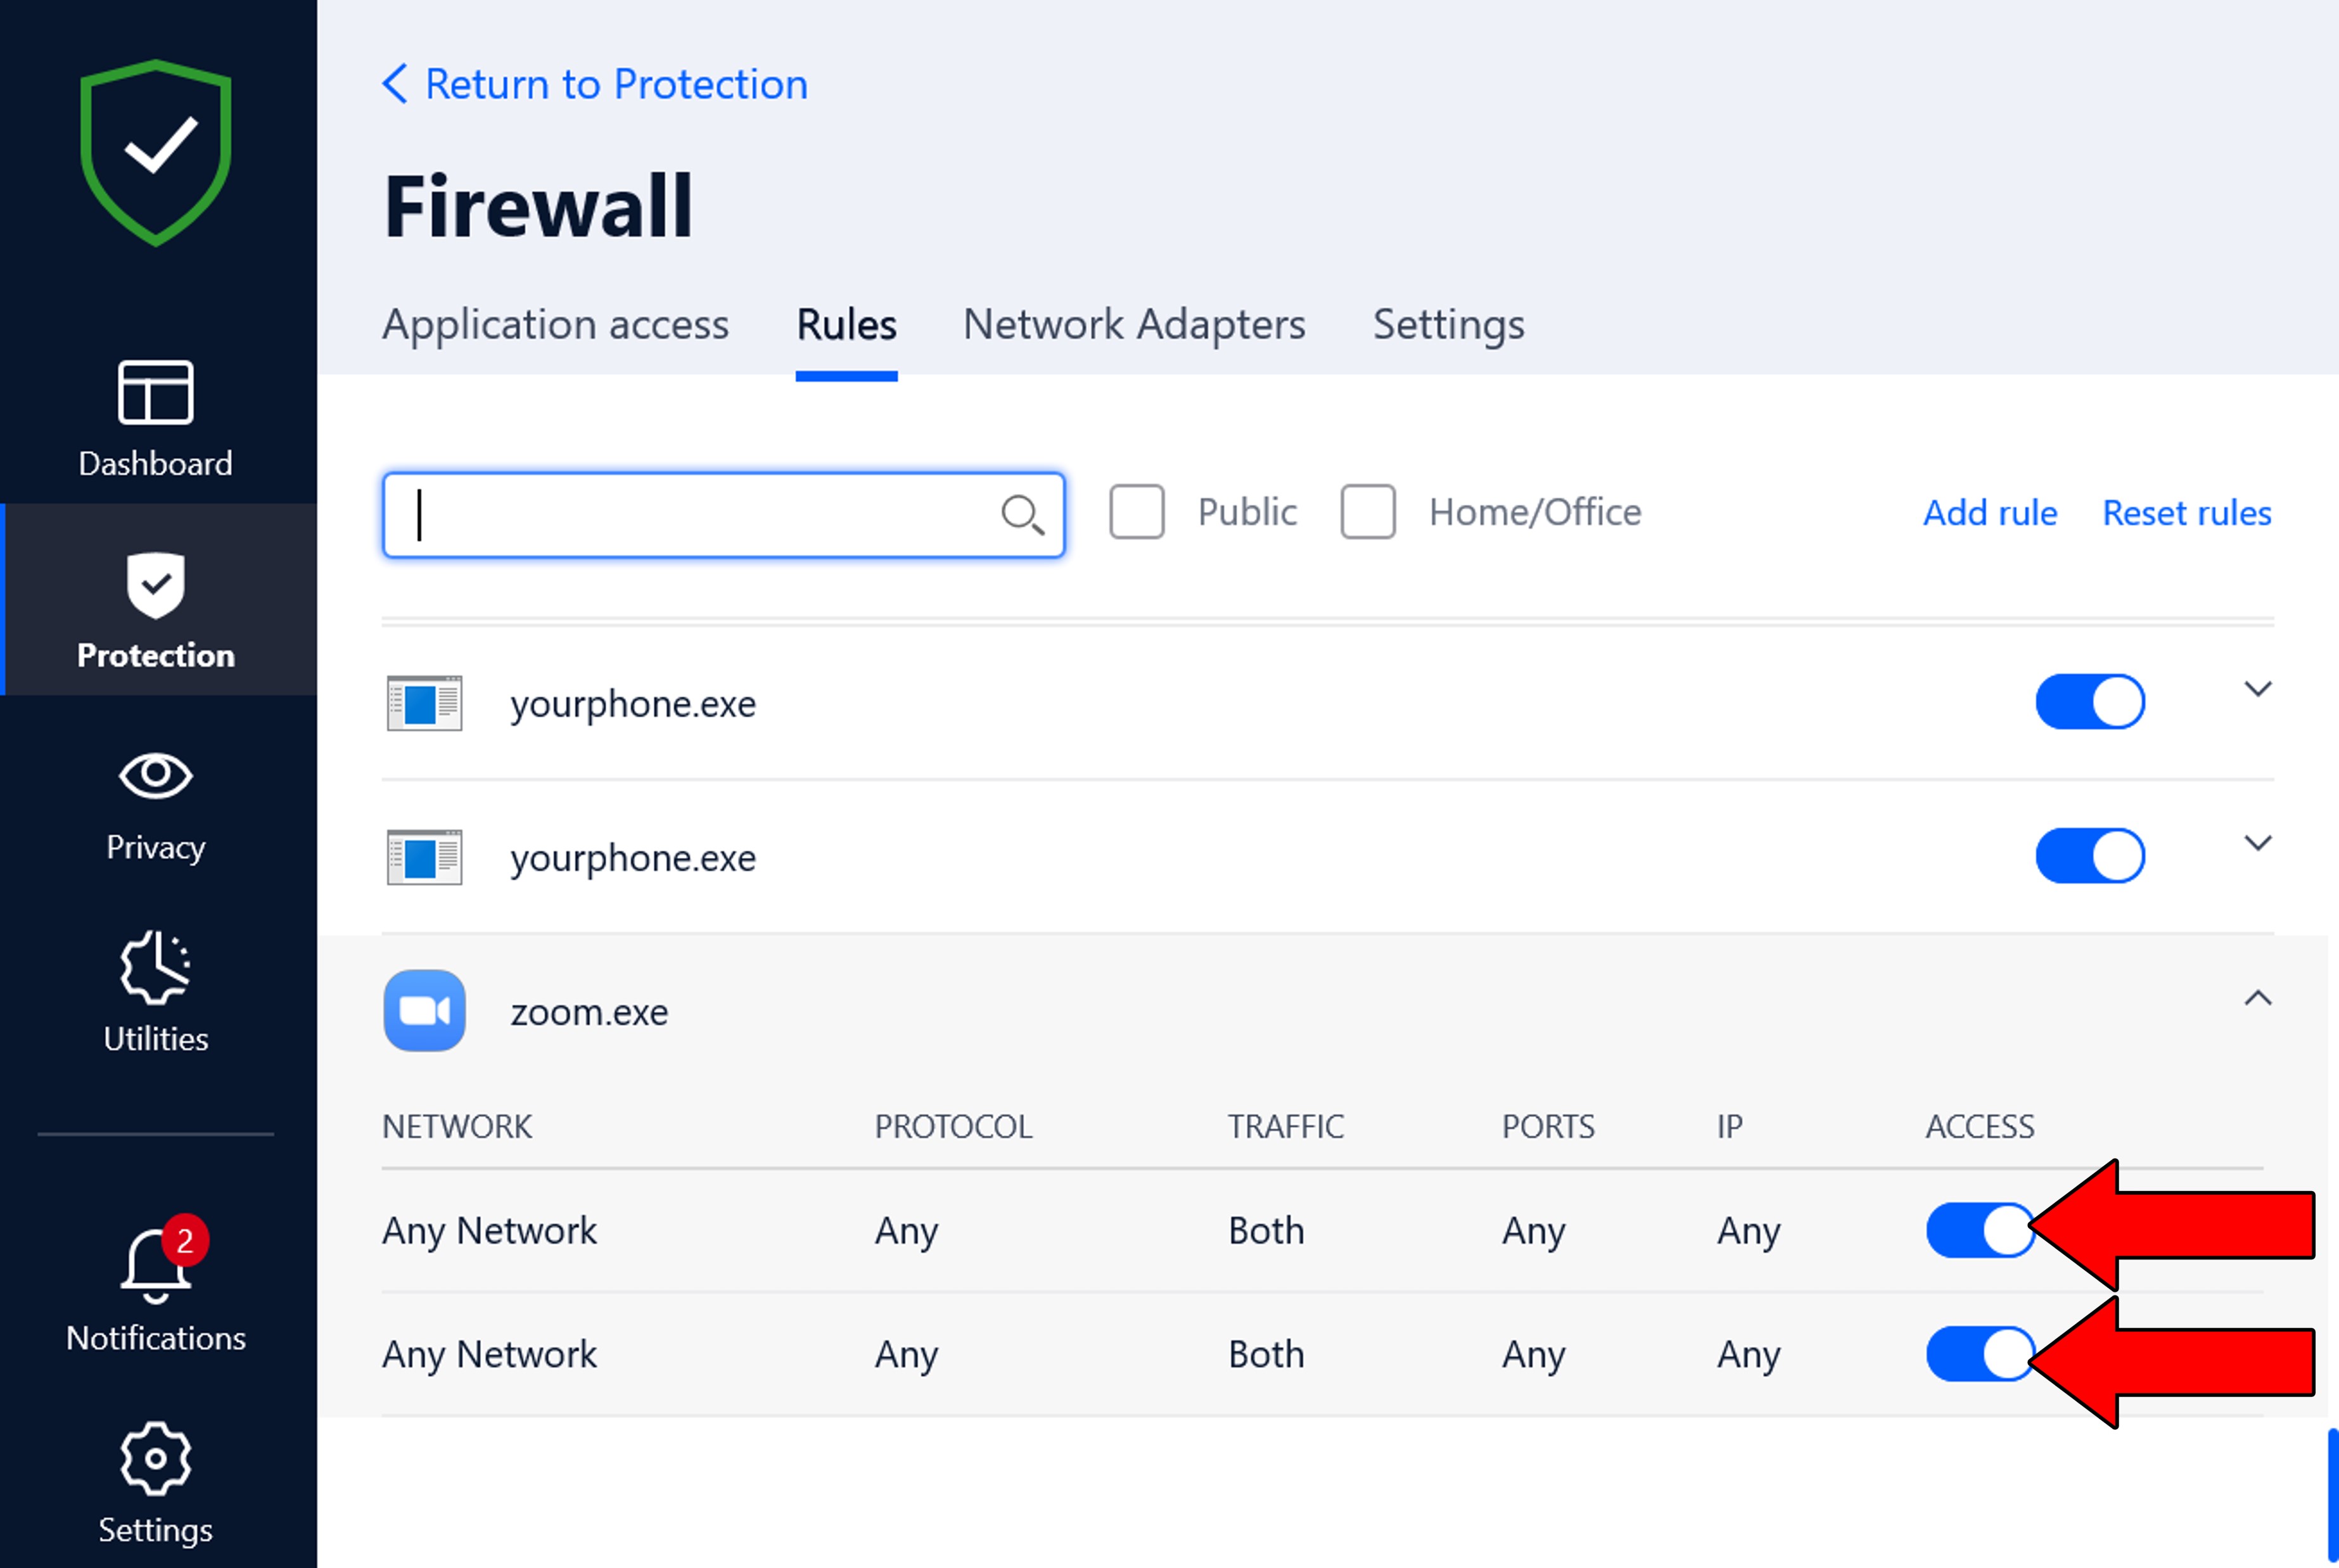
3. In the “Audio” tab locate “Suppress background noise” and choose “Low”.
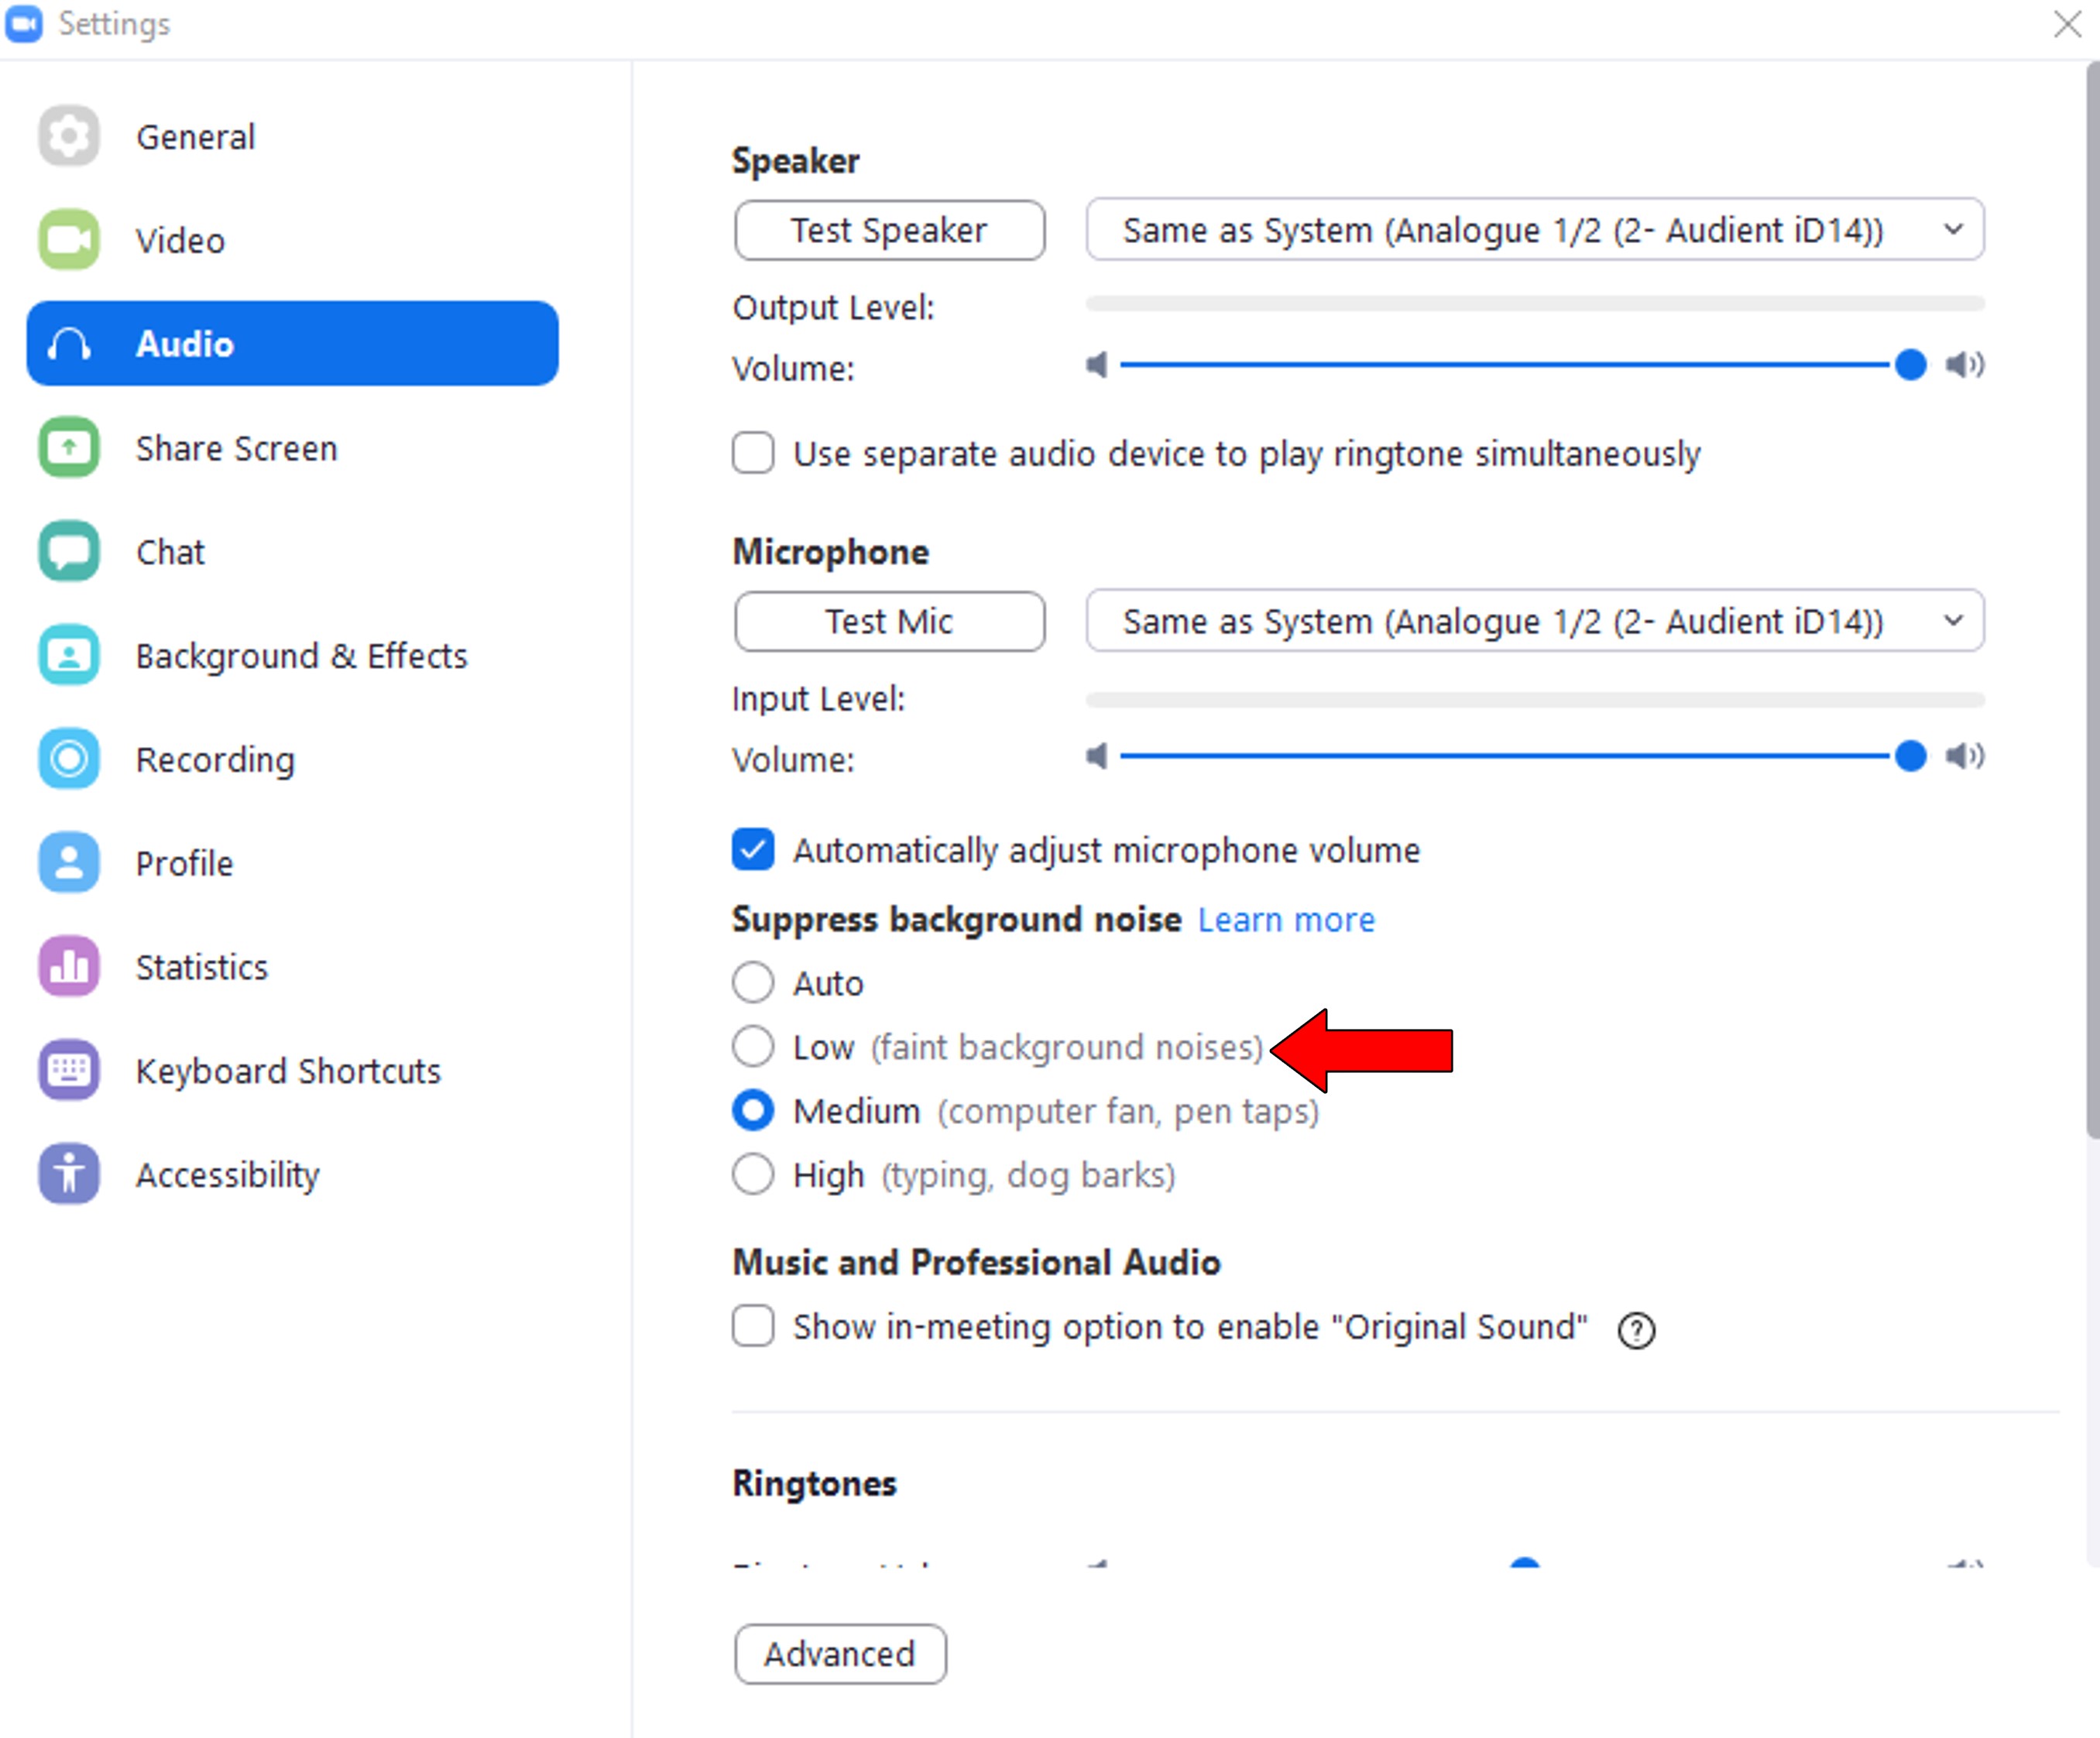
By selecting this option, Zoom should let more audio pass through to your mic, thus increasing your voice’s volume.
There’s no denying that Antivirus software is one of the greatest inventions of the last 100 years. Can you imagine browsing the web or downloading files while fearing for your device’s safety?
Thanks to this software, we enjoy many freedoms, but as technology has advanced, so have potential threats. This has forced most developers to make their new products a little more strict, as black-hat hackers have gotten much better at hiding viruses under clean files.
And while they’ve managed to stay a couple of steps ahead of cybercriminals, this has resulted in many people reporting that their Zoom audio is too low or nonexistent.
Why? Simple.
Since Zoom is a communications platform, most Antivirus software try to regulate or eliminate altogether its ability to send and receive information. And yes, that also means incoming and outgoing audio.
If you ask me, it’s better to have and not need, than to need and not have.
In other words, it’s better to be overprotected by your Antivirus, than to have software with relaxed rules that will eventually let a threat pass through.
The good news is that you can create exceptions for most of your programs on your favorite Antivirus. This allows you to keep enjoying protected browsing and downloads, while also having decent audio levels on Zoom.
Solution: First, let’s make sure the platform can send and receive information online. The process should be fairly similar within other manufacturers’ products, so here’s how this goes on Bitdefender to give you an idea:
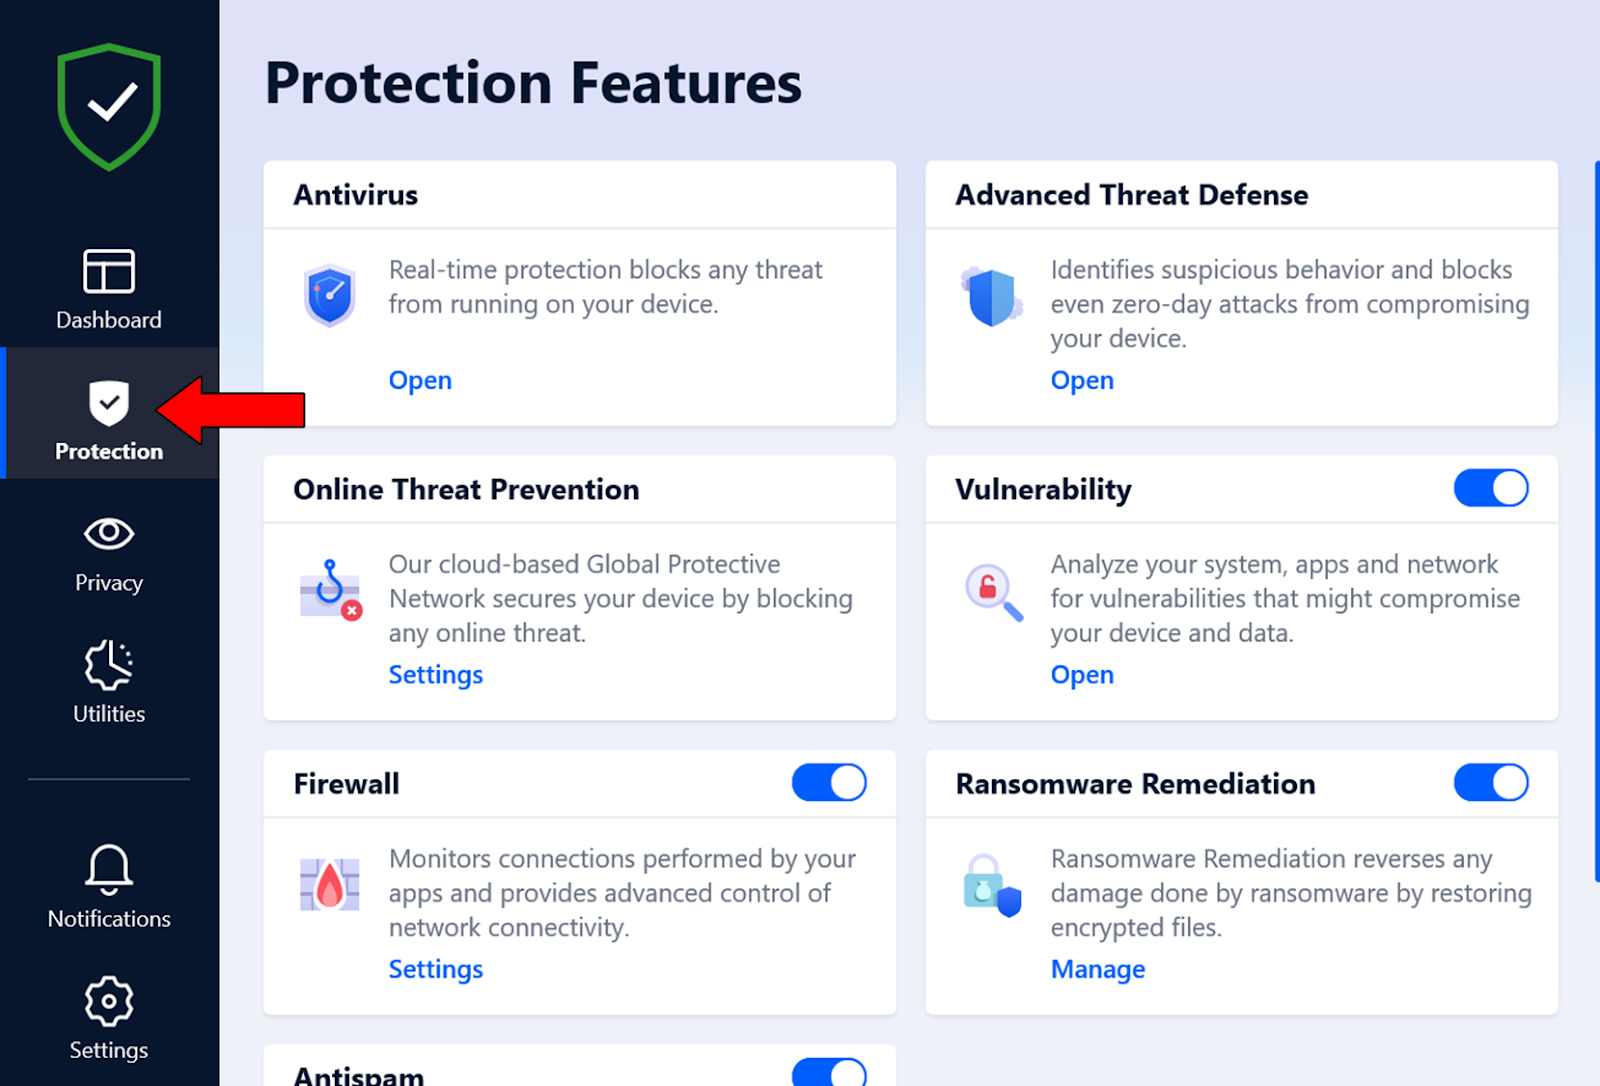
Having done that, let’s give Zoom permission to access your webcam/microphone’s audio and video.
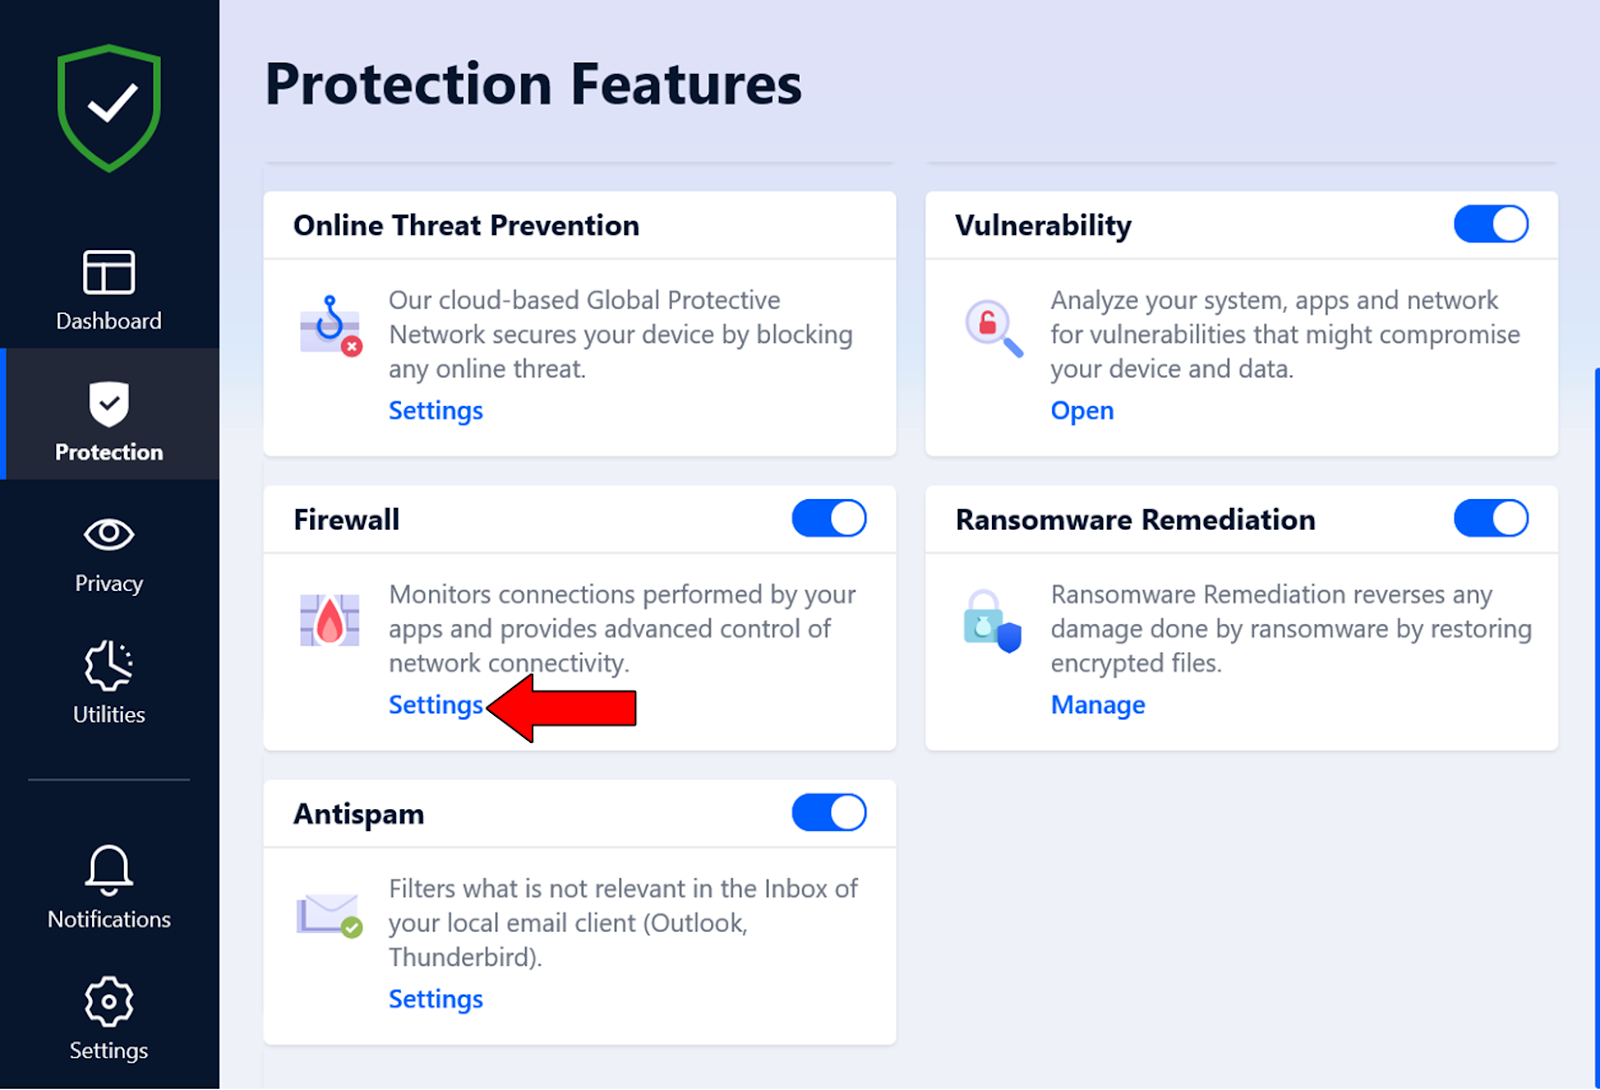
5. On Bitdefender, click on the “Privacy” tab
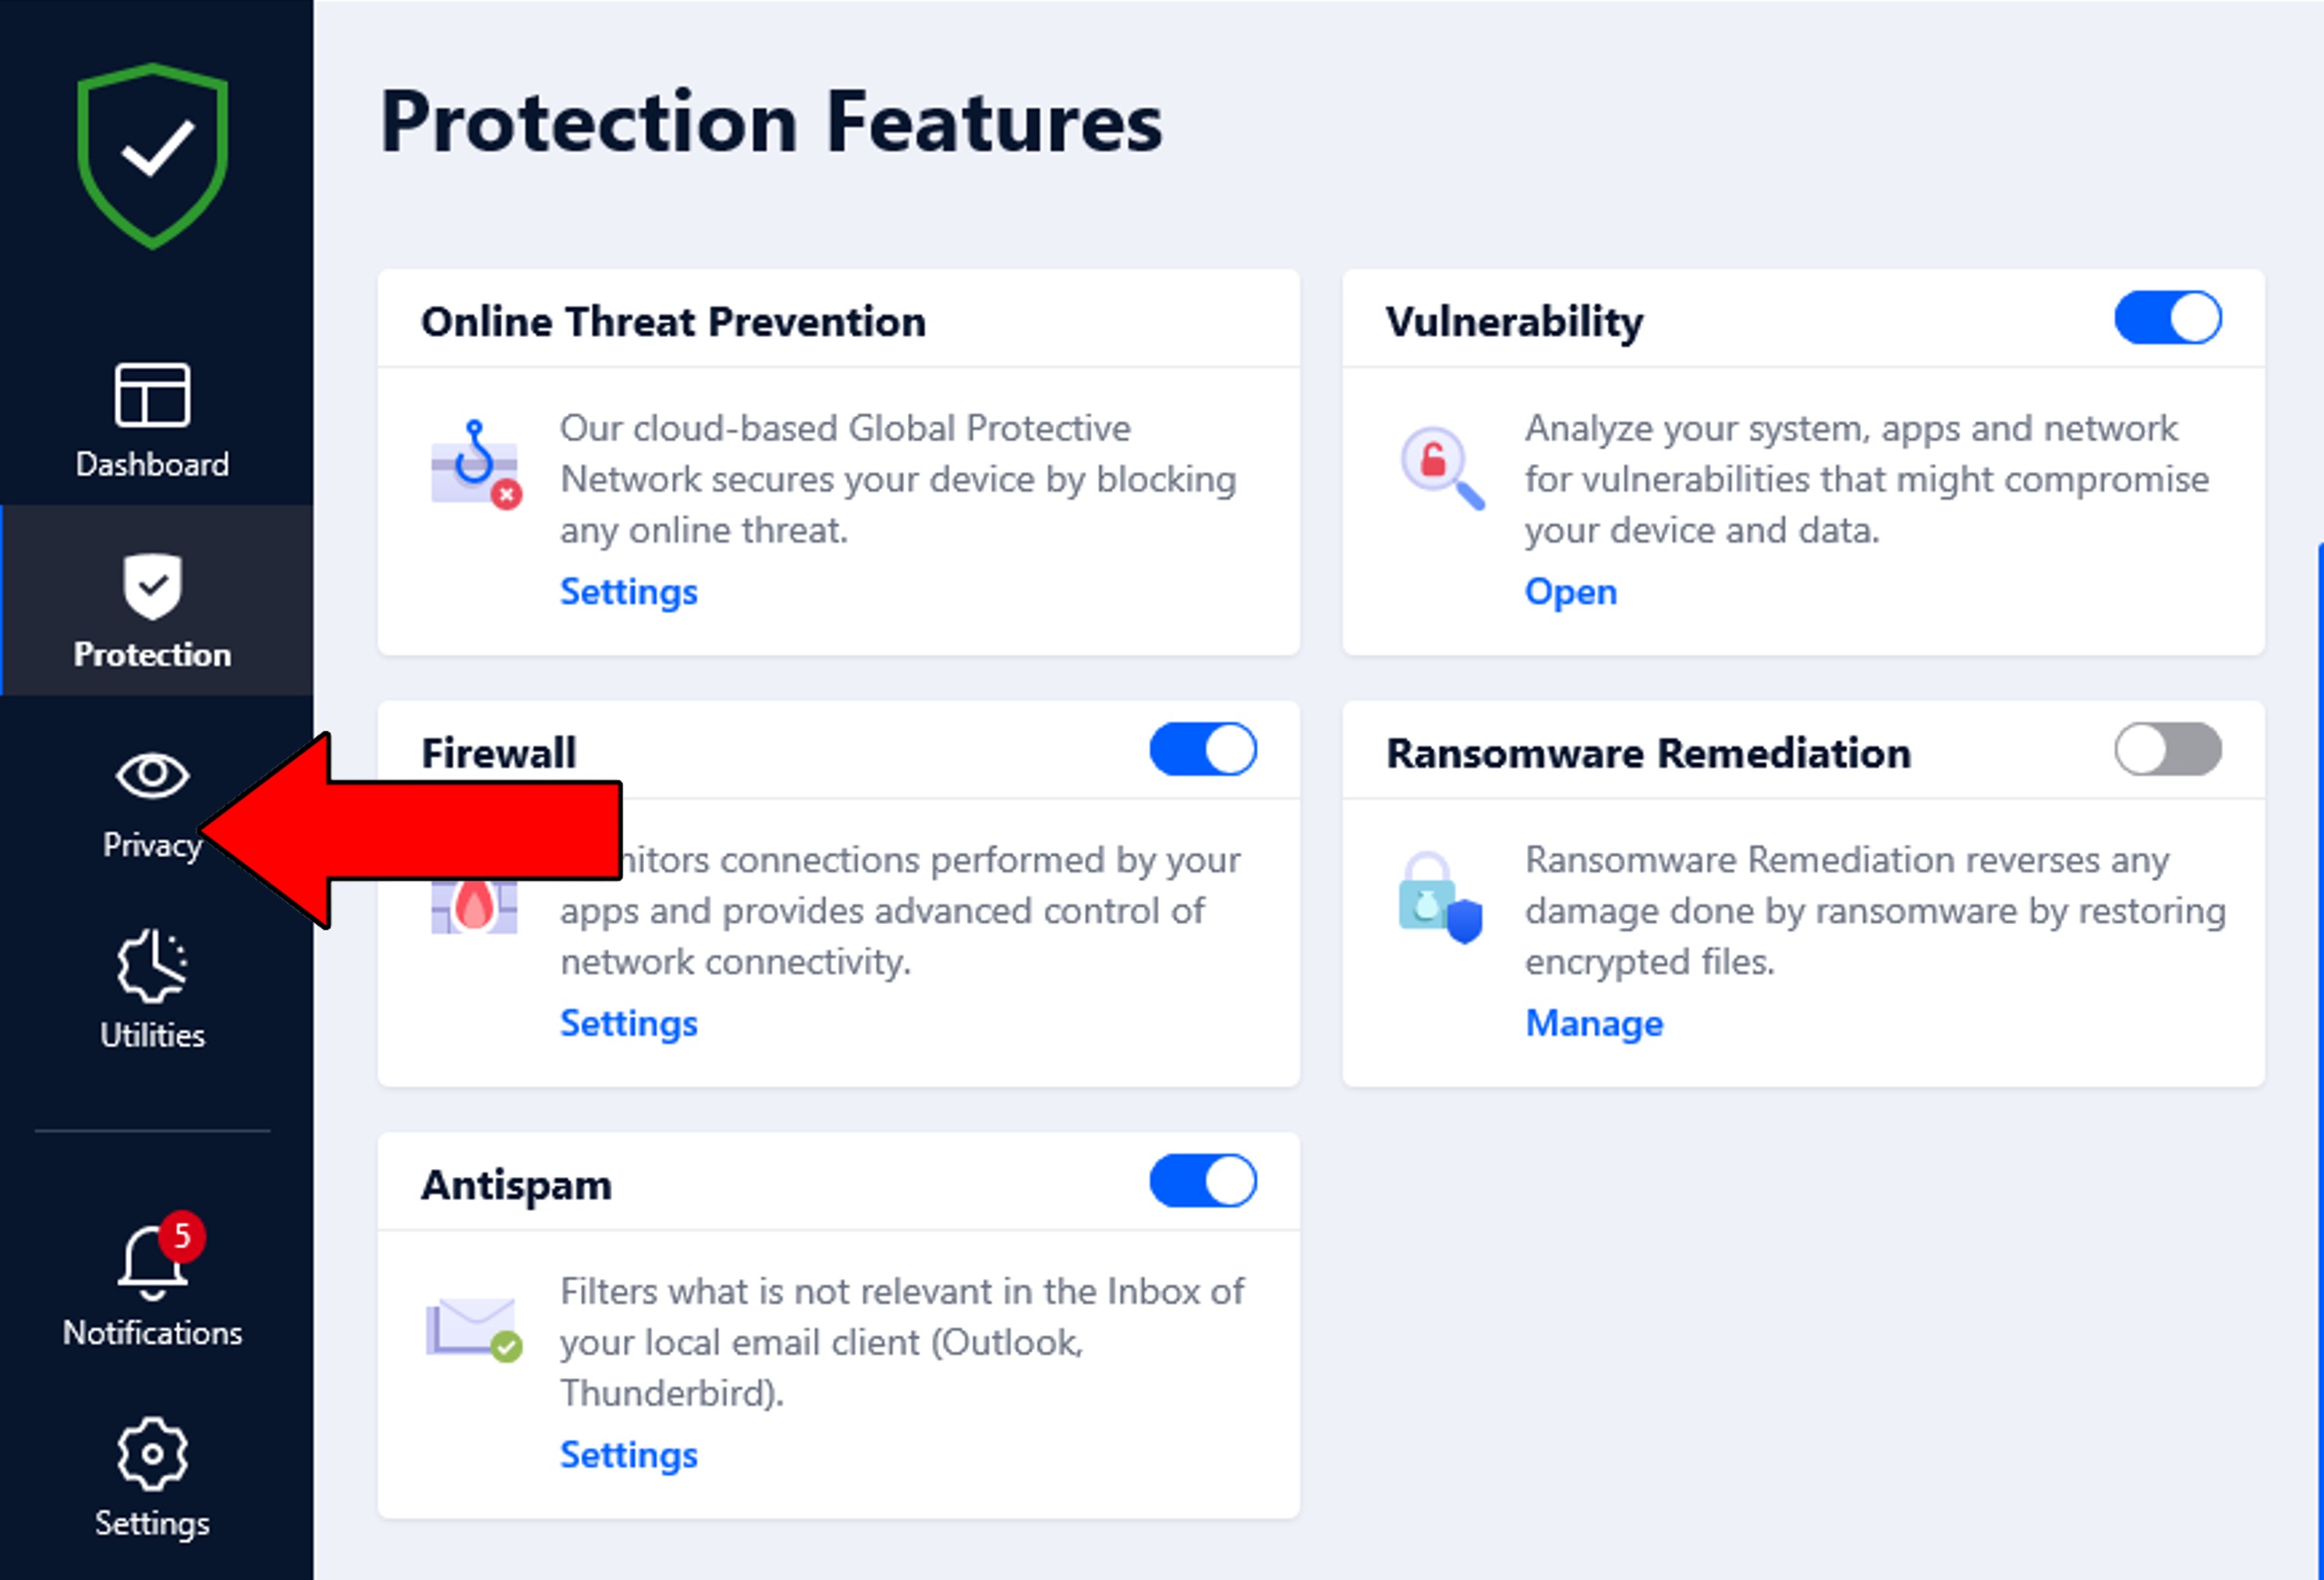
6. On the new window, select Settings on “Video & Audio Protection”
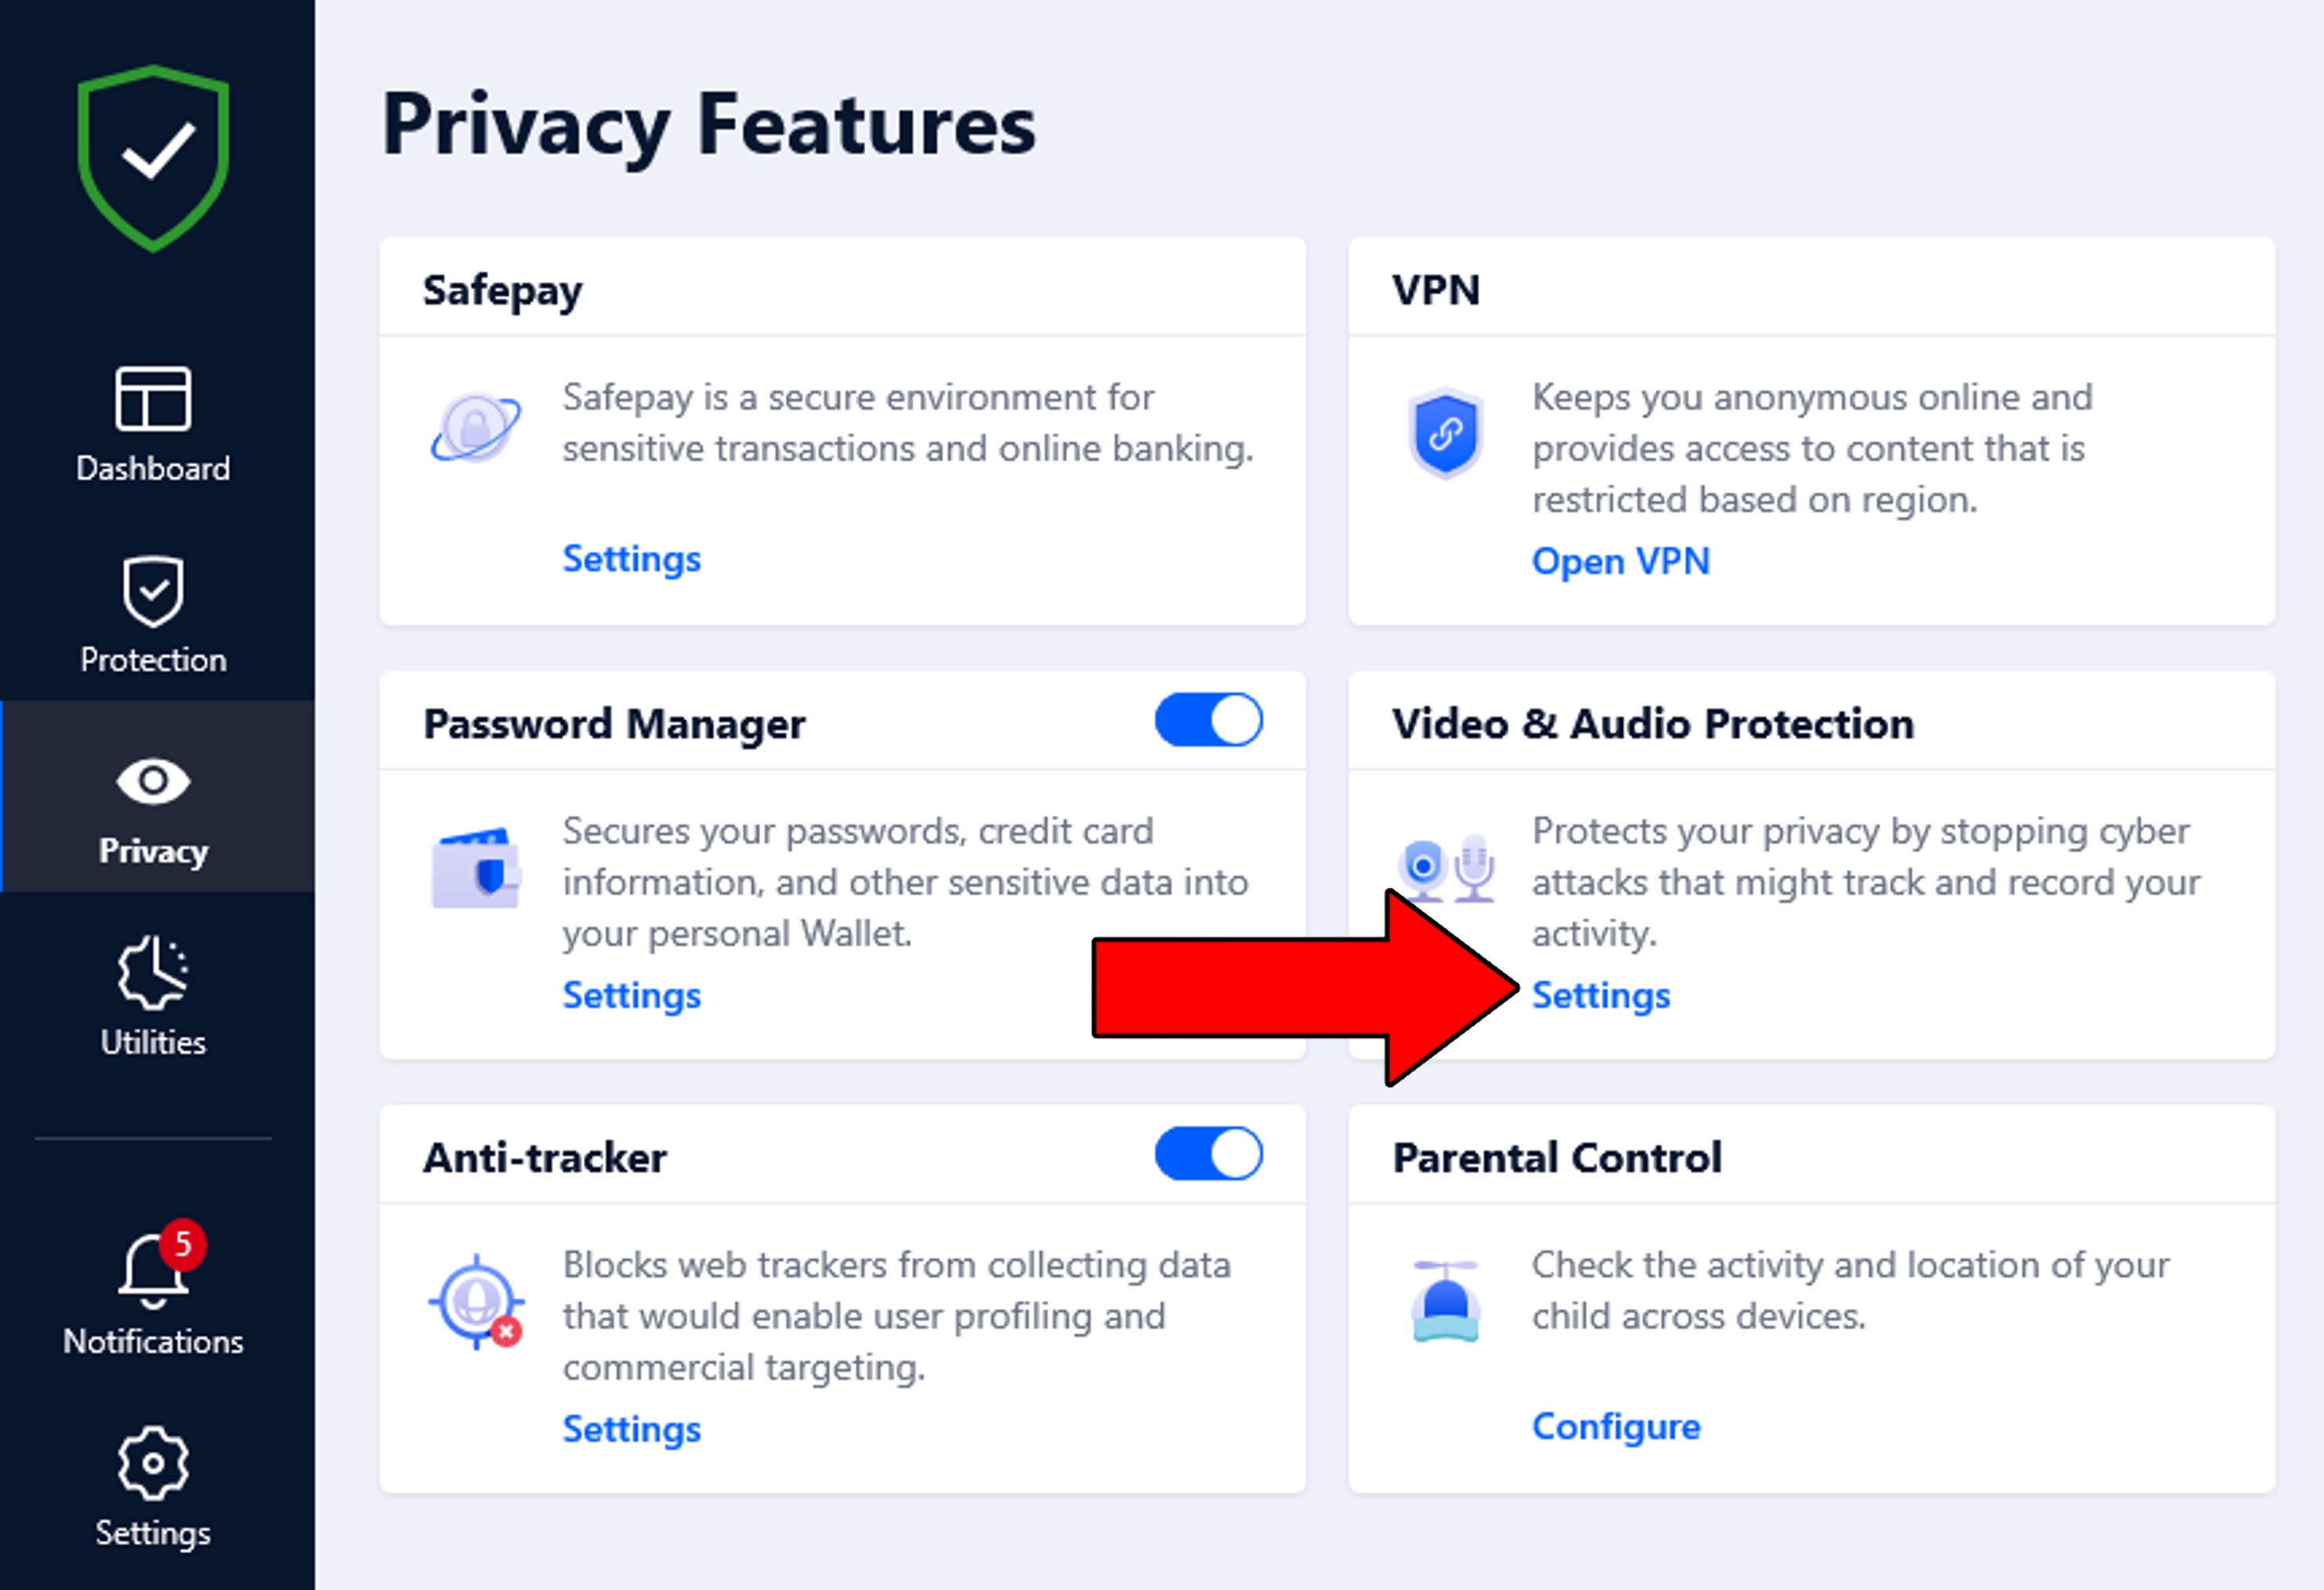
7. Go to the “Audio Protection” tab, and select “Add application”. Once the pop-up window opens, find Zoom on your files and select it
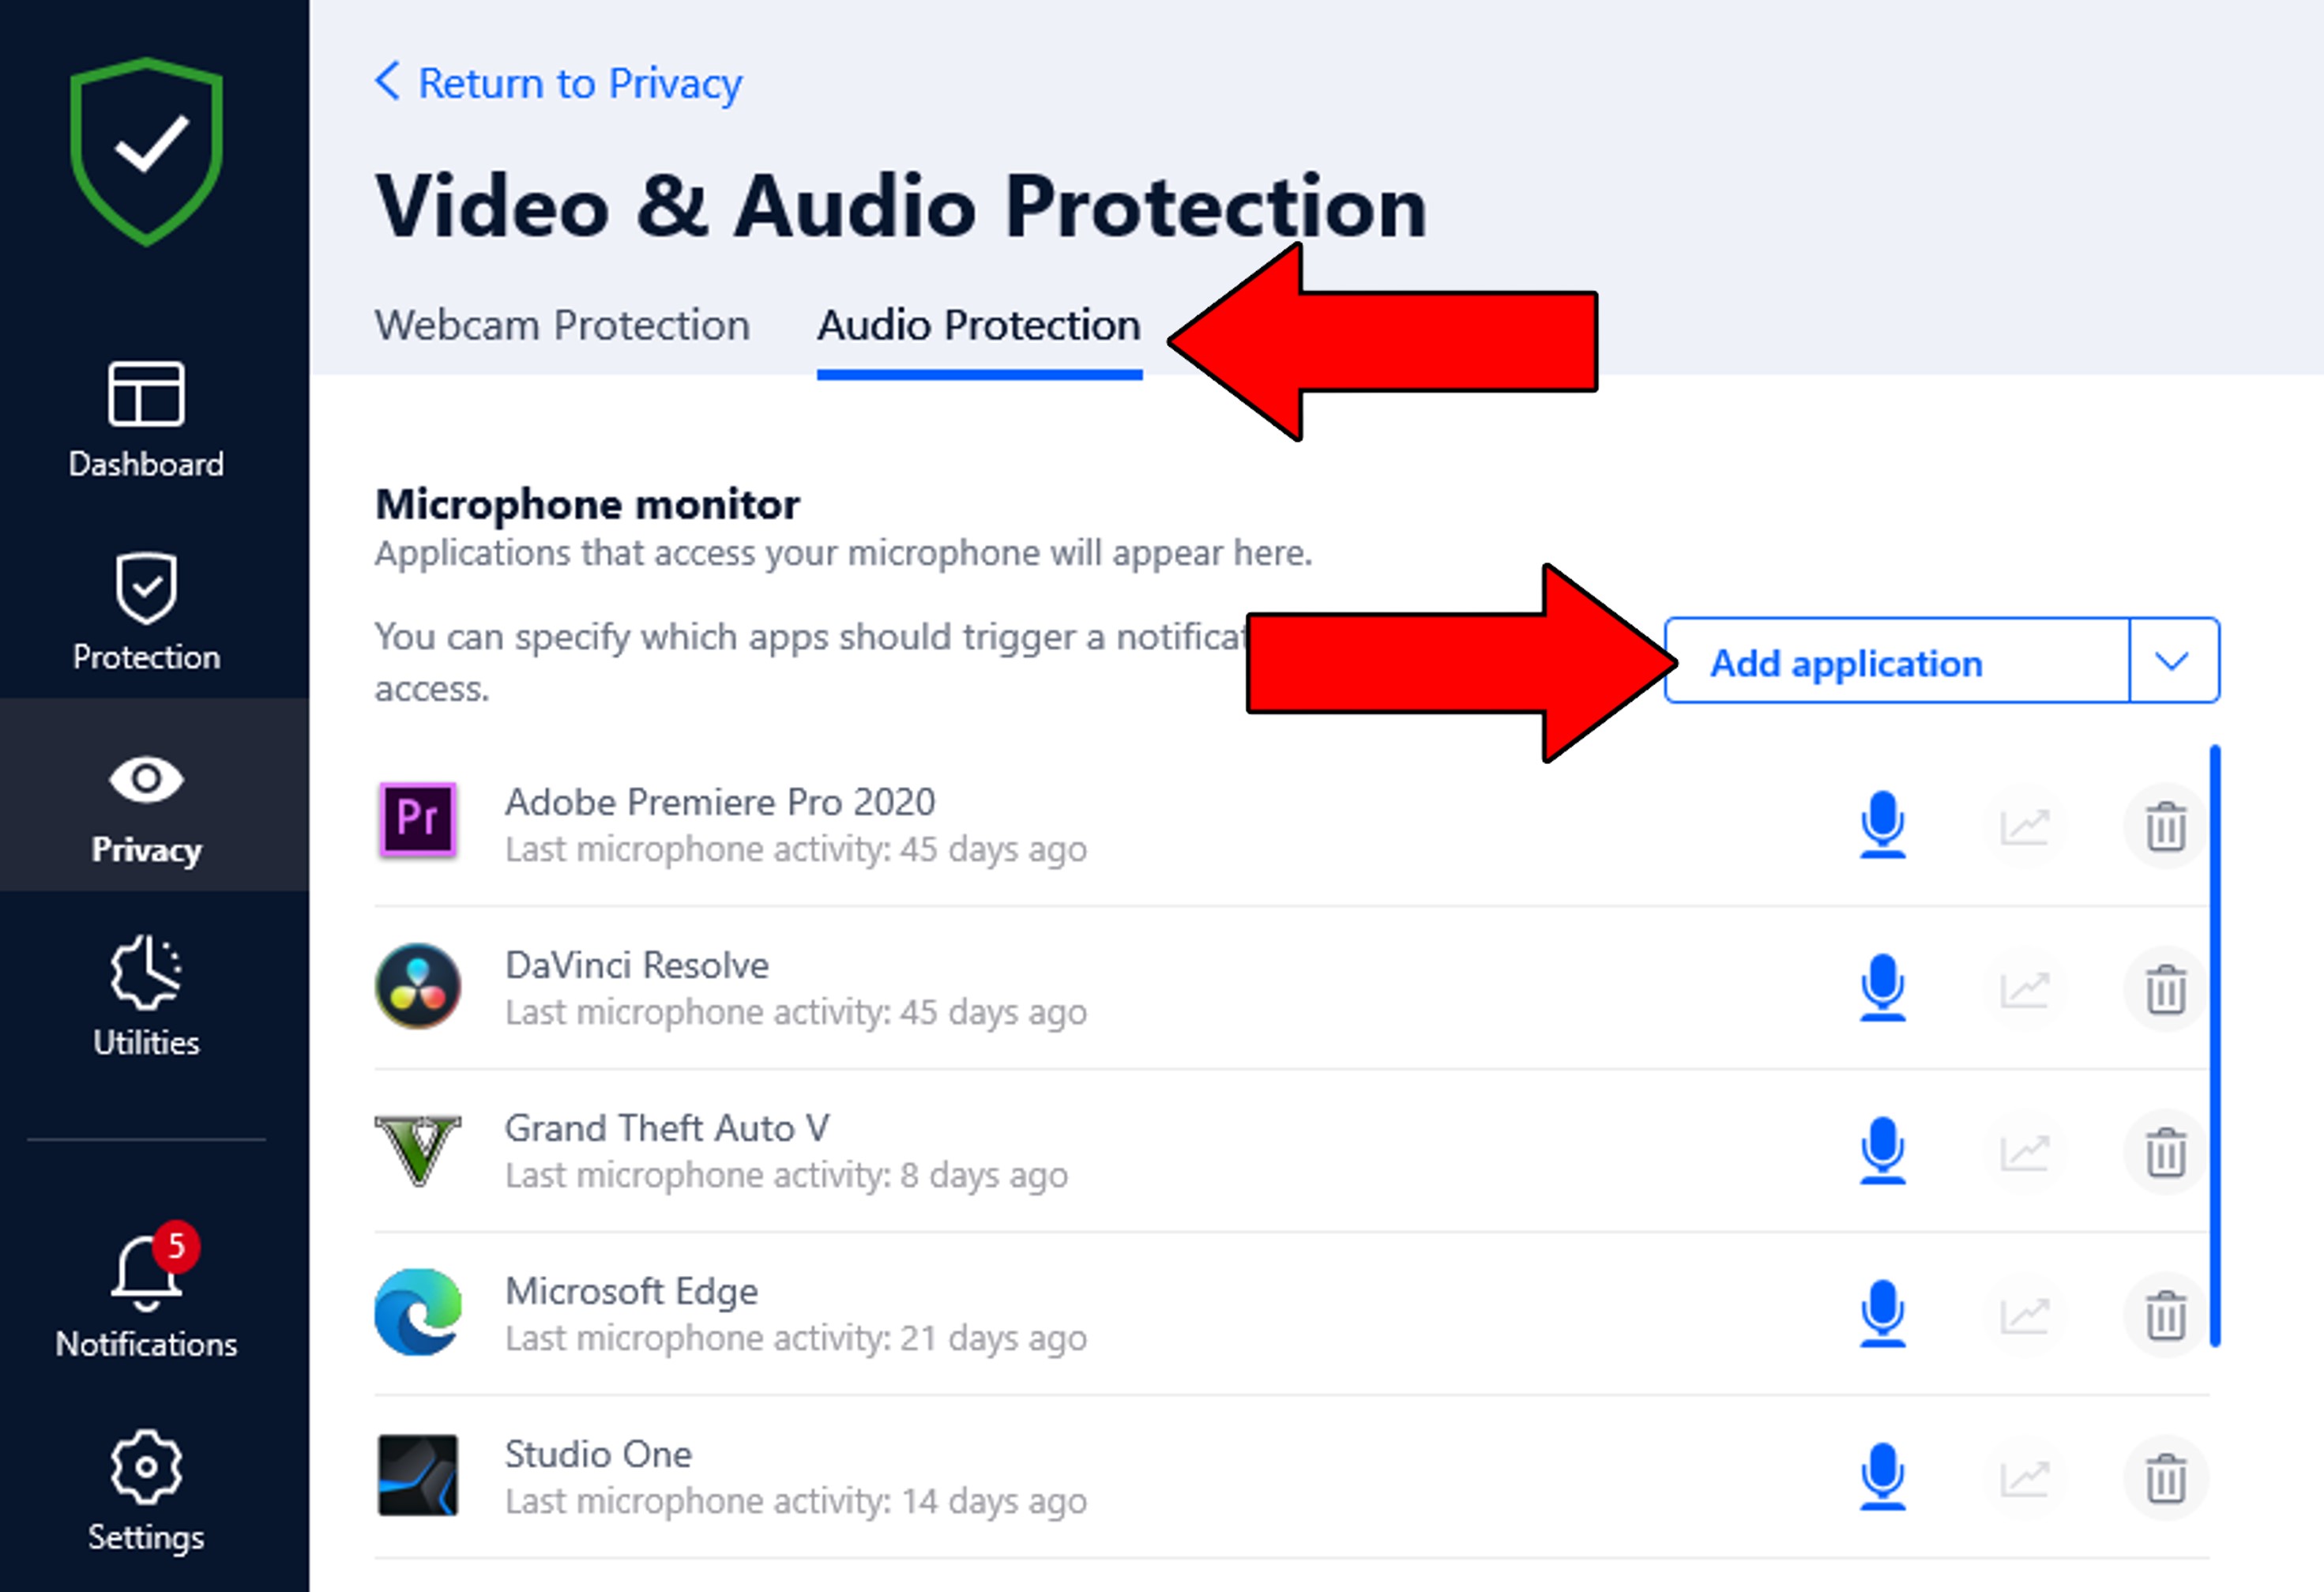
Once you’re done, Zoom should have all the permissions it needs to work as you’d expect.
Sometimes we tend to overcomplicate things when the answer is staring us right in the face.
If nothing has worked so far, there’s always a chance that all you need to do to prevent your Zoom audio from being too low is to relaunch the program.
You’re probably wondering what this does and why it works. Let me explain.
When we use any program, app, or device, many processes are running in the background at the same time. In most cases, it all goes like clockwork and there’s nothing more to it. But sometimes, for a wide number of reasons one or more can crash.
That’s when things start getting weird.
Some of the most obvious signs that you need to relaunch Zoom are issues, like being constantly signed out of the platform, blurry video, and much more. Relaunching the platform will wipe its slate clean and allow it to reload important resources it needs to work and regulate your audio levels.
Hey, I get it, no one wakes up in the morning feeling the urge to update their favorite apps. But believe it or not, keeping them outdated is one of the most common sources of trouble.
If you skip updates, either voluntarily or by accident, you’re missing out on the chance of enjoying new features and fixing several bugs. Not to mention that you’ll have a very hard time making Zoom work with other systems that are up-to-date.
Now, in most cases, you don’t need to worry about doing this yourself, as most devices and programs are configured to update themselves automatically. But sometimes plans don’t go as expected and factors like bugs or weak networks can get in the way.
In scenarios like these, you’ll have to take matters into your own hands and install the latest Zoom version on your devices.
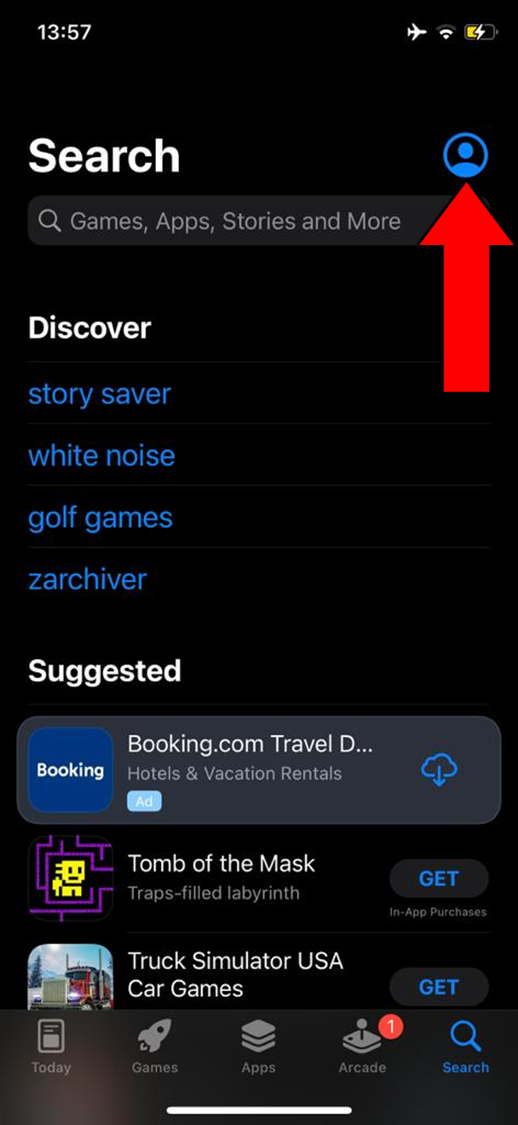
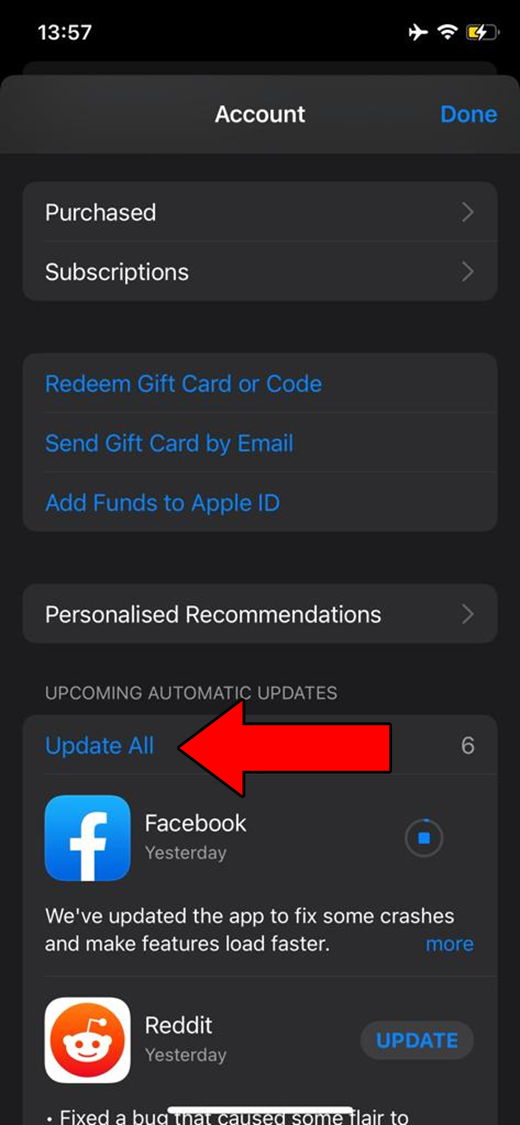
Solution: You can do this on all Zoom-capable devices. Here’s what the process looks like on iOS and Android systems.
For iOS:
For Android:
If you get a message asking for your permission to finalize this process, all you have to do is agree and wait.
Finally, let’s try going deeper to fix this.
Sometimes, no matter how well updated the program is or how many times you relaunch it, your Zoom audio will be too quiet. This is mainly due to the fact that some bugs and corrupted files are harder to get rid of than others.
In cases like these, uninstalling and reinstalling Zoom might be just what the doctor ordered.
By doing this, you’ll be wiping all the program’s files from your computer, giving both your devices and the platform a chance to get a clean start. I understand that this is a fix you were probably not expecting, but sometimes it’s the only way to get things working.
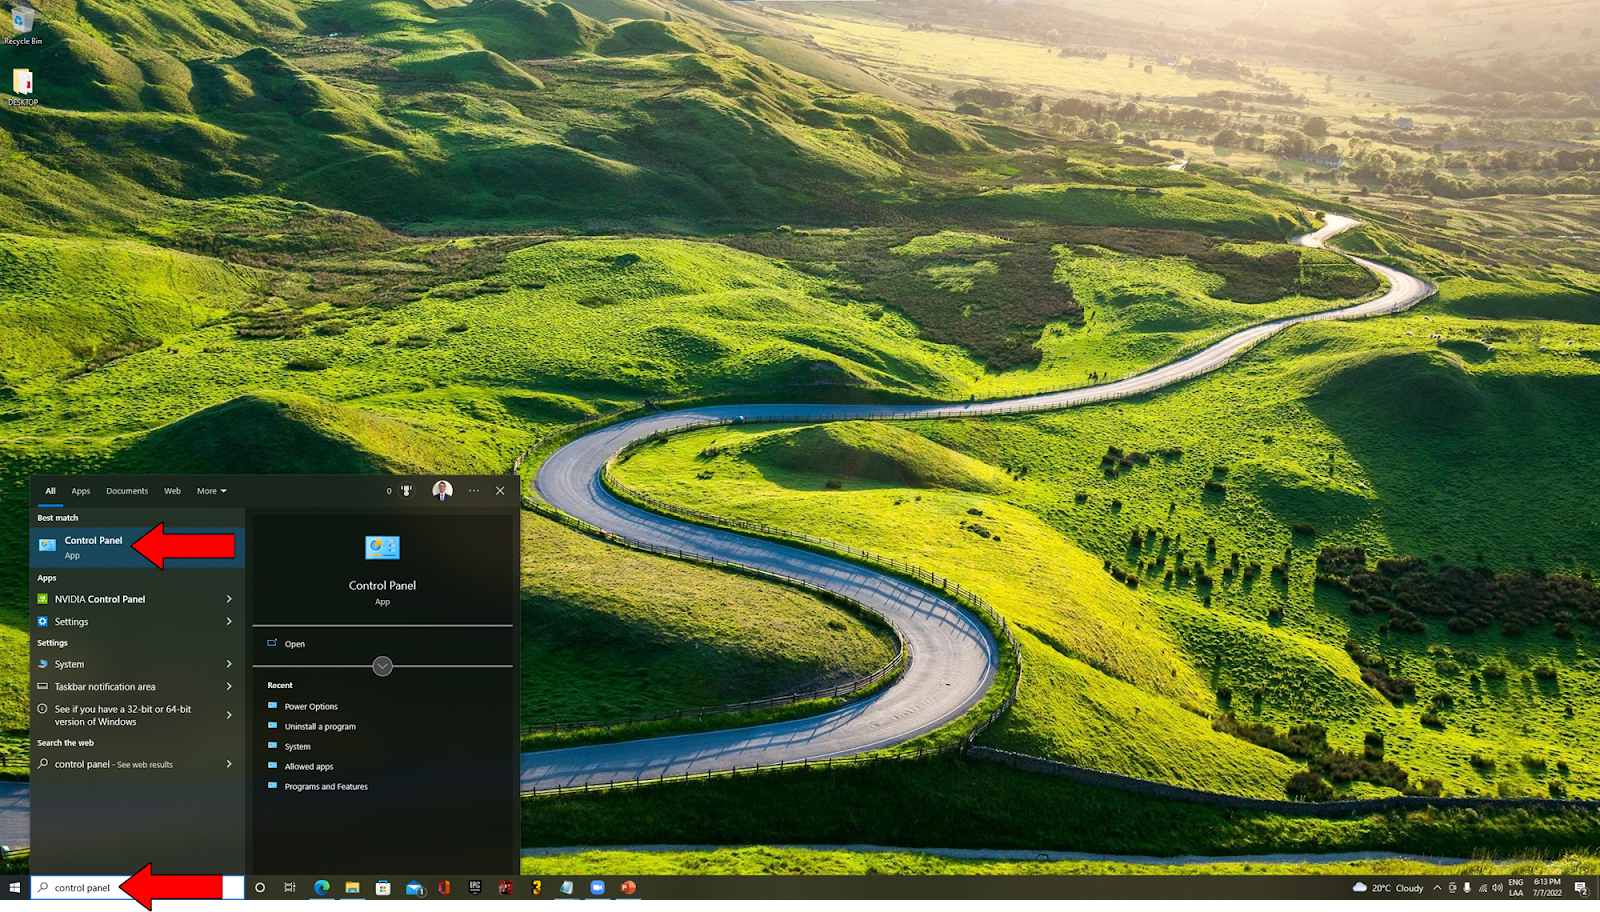
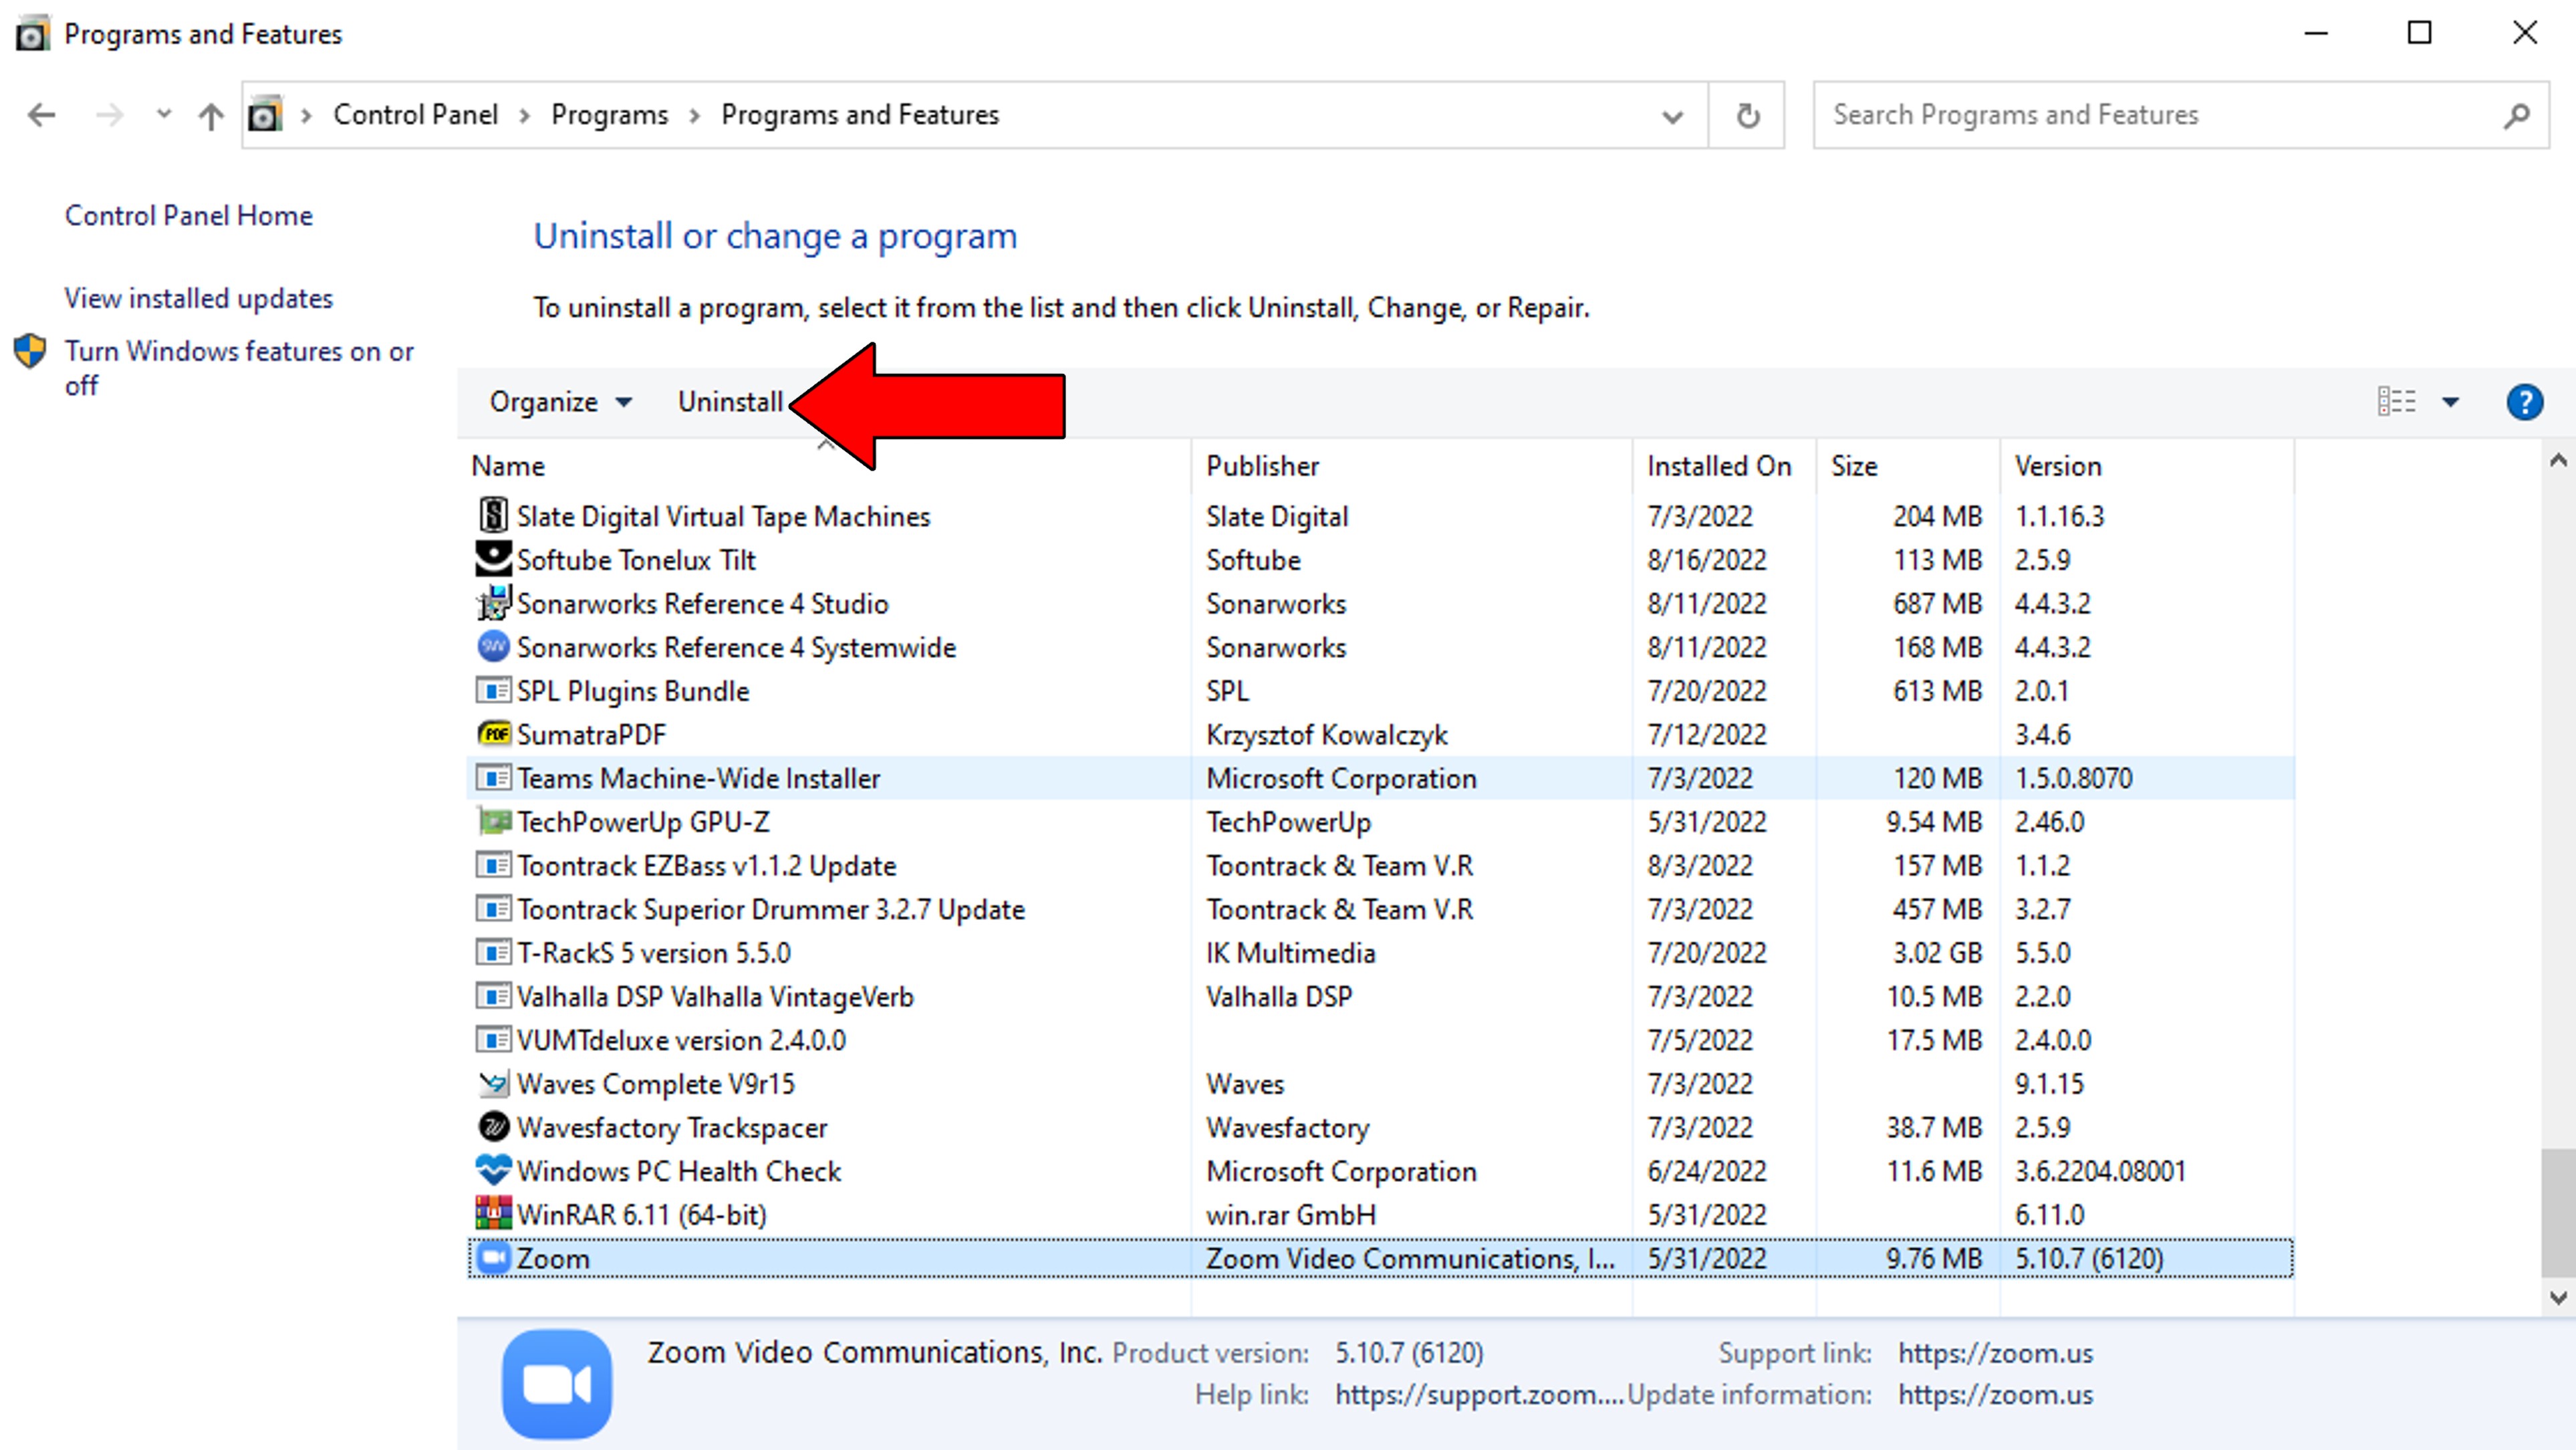
Solution: If this is the first time you’re uninstalling a program, don’t worry. Just follow these simple steps:
For PC:
For iOS devices:
That about covers it!
I bet that when you came here worried about your Zoom audio being too quiet, you never thought you’d leave having solved the issue, but here we are.
Hopefully, this piece has helped you learn that things like these can be fixed with simple actions, like checking the platform’s servers and adjusting your audio levels manually.
I really appreciate you sticking with me all the way to the end. If you found this article to be of any help, you’ll be very happy to know that we upload new content every week. In the meantime, why not check out our other incredible resources below to become a Tech Detective yourself?
Best of luck to you.


Detective ‘Gerry’ Molina is one of the most prolific detectives on our TechDetective team. He’s known for his ability to crack down on multitudes of tech crimes on behalf of you – the citizens of the internet. Molina is often the first point of contact for many cases, working to help free victims from the tyranny of tech issues.